Jump to the complete pattern card
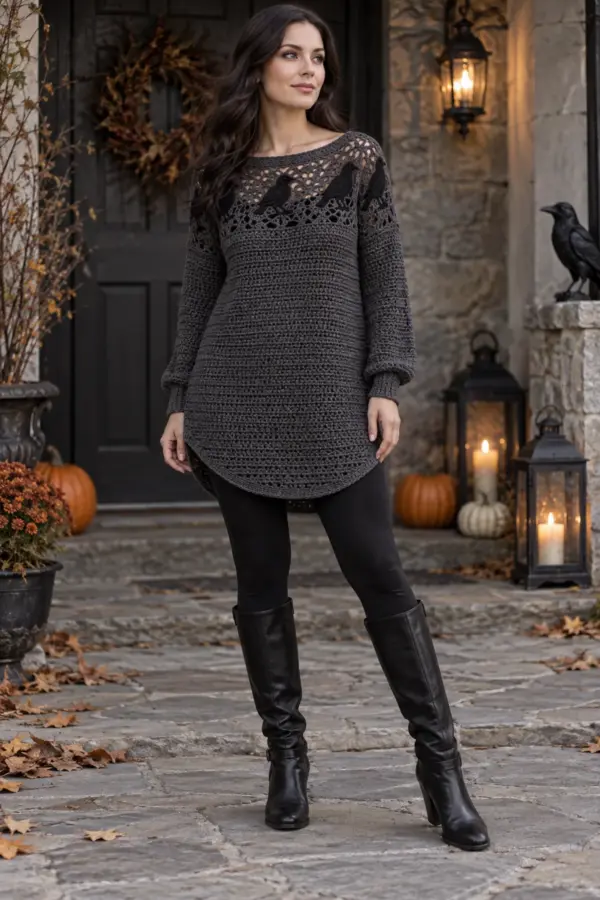
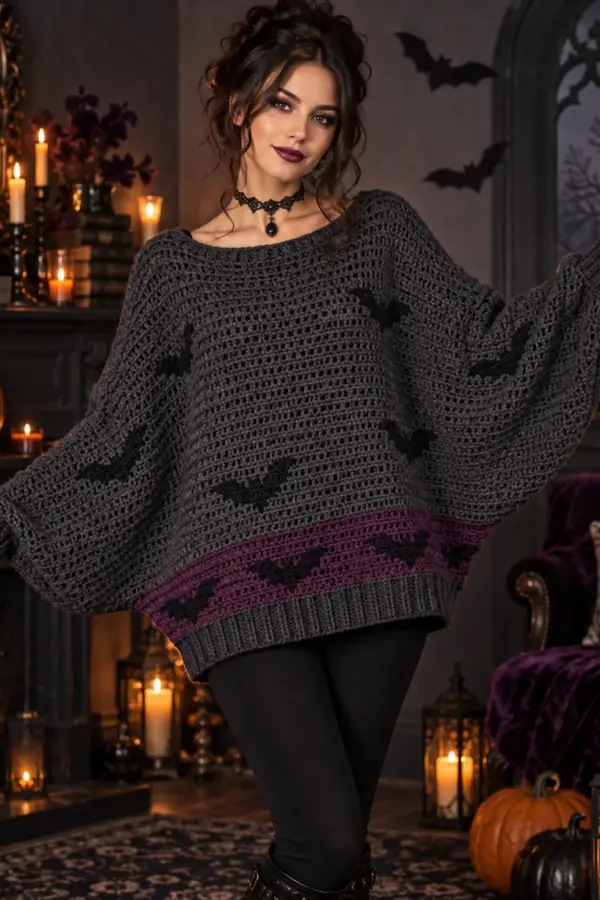
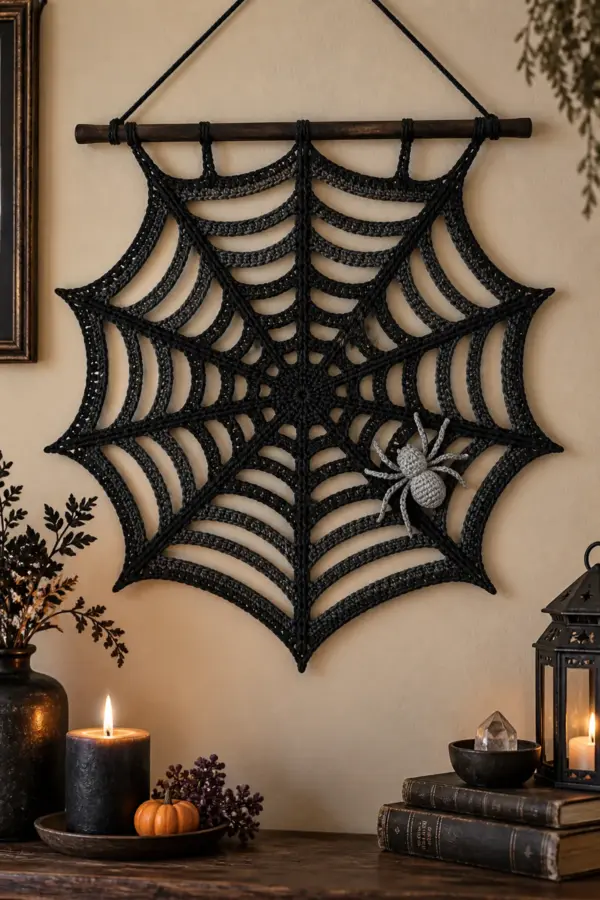
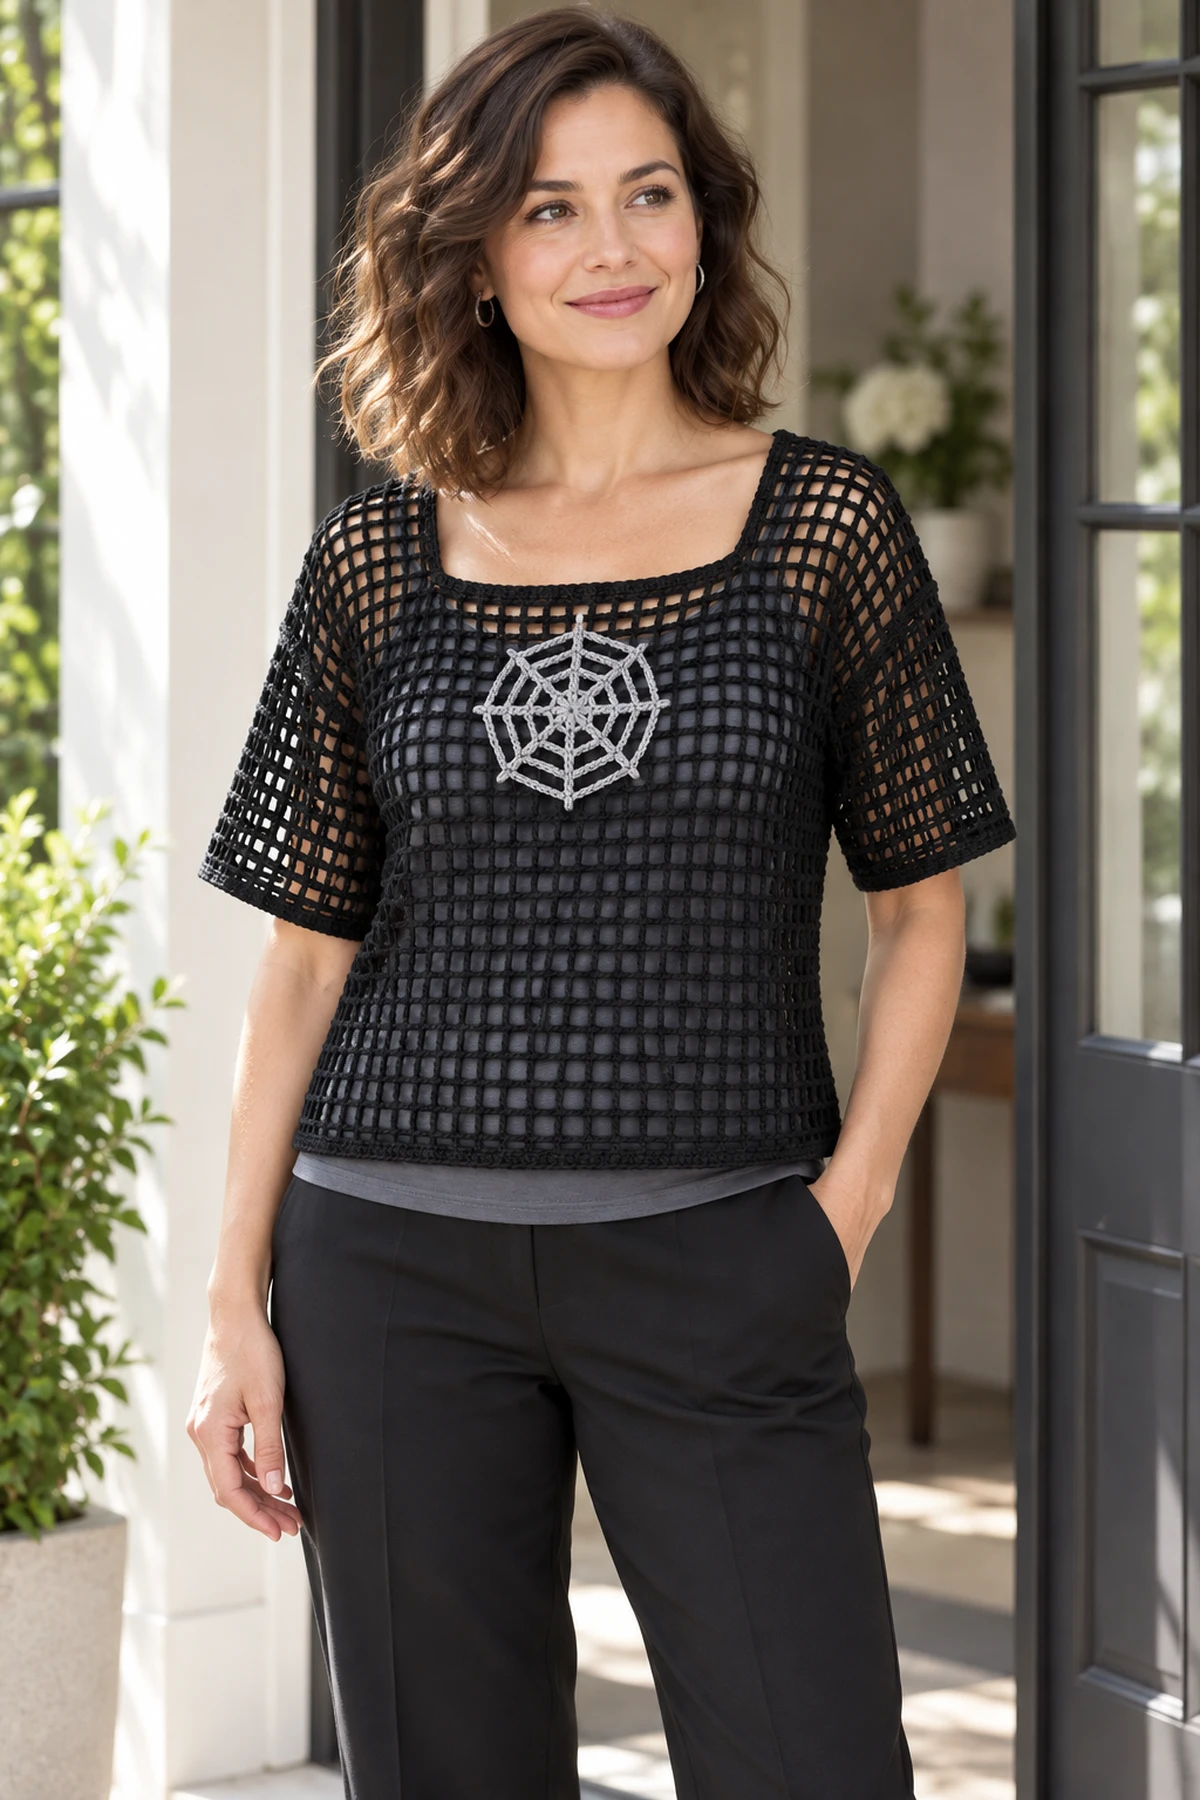
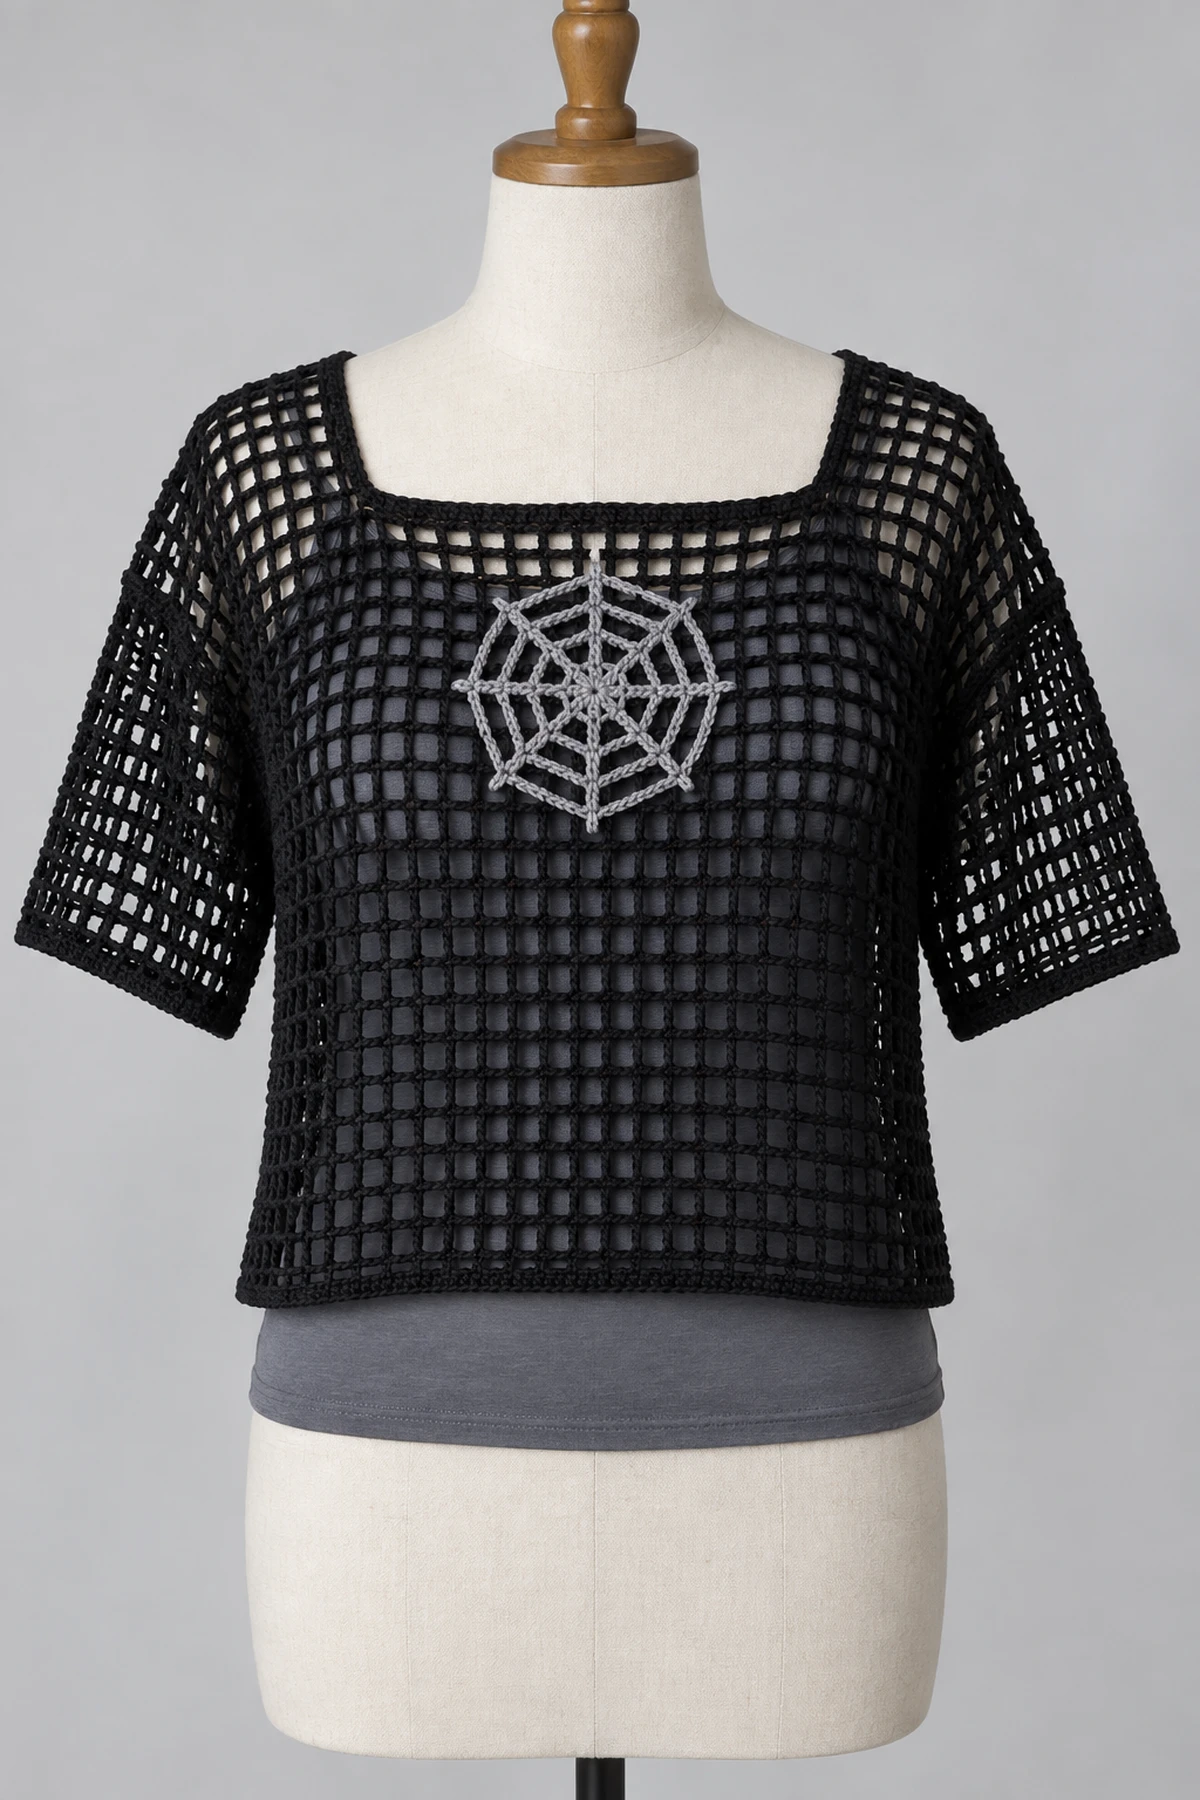
A black square-mesh pullover becomes a Halloween layer with one silver-gray, eight-spoke crochet web at the center front. Its boxy body and wide short sleeves are assembled from separate mesh panels. An opaque base layer lets the mesh and web stand out without changing the crochet construction.
Original digital pattern by Carly. The written measurements are calculated from the blocked gauge. This design has not been independently test-crocheted in every size. Images are AI-generated design illustrations, not photographs of a tested sample; follow the written stitch counts and your measured gauge.
Materials and tools
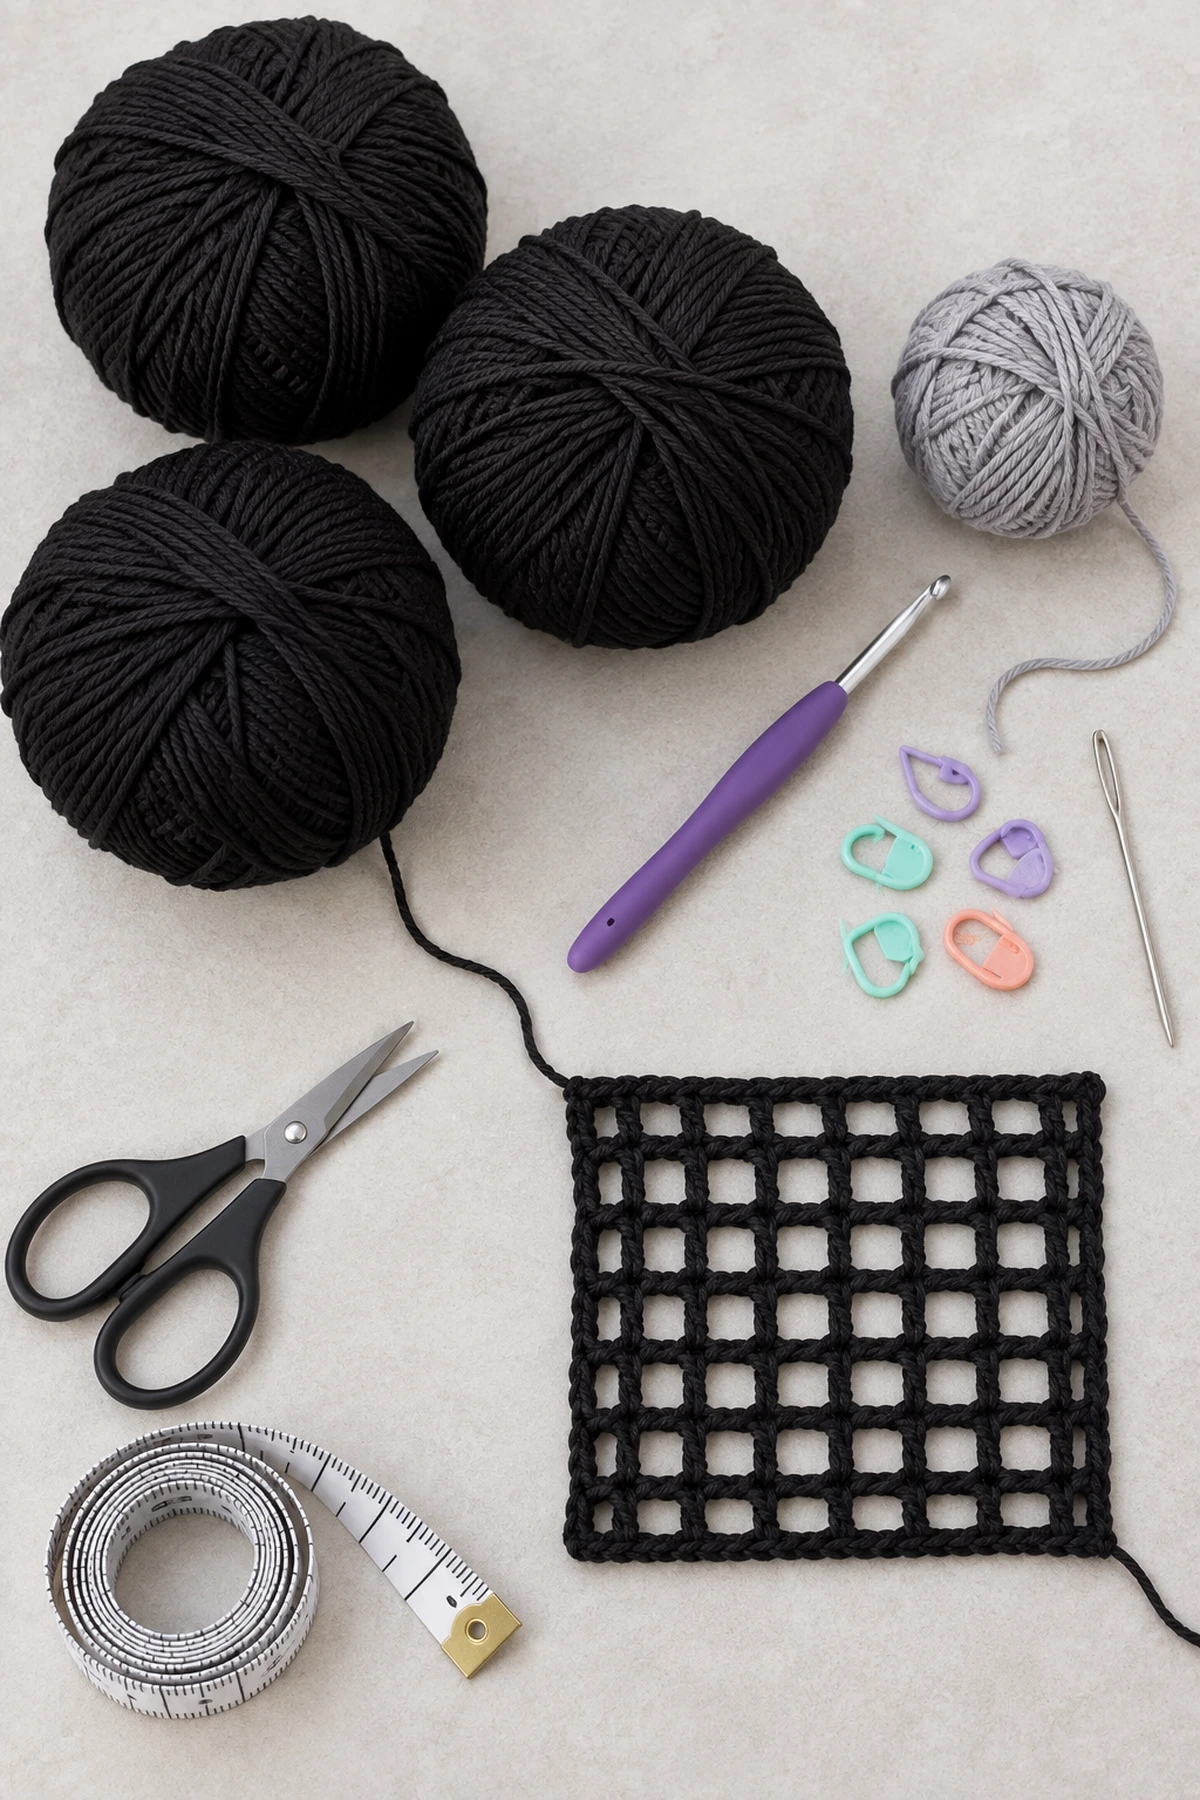
Black DK cotton-blend yarn with a soft drape: approximately 800 (950, 1,100) yd. Silver-gray DK yarn: 40 yd for one web. 4.5 mm hook, 10 stitch markers, blunt needle, scissors and measuring tape. An opaque shirt or dress for styling is not included in the crochet yarn requirement.
Gauge, sizes and fit
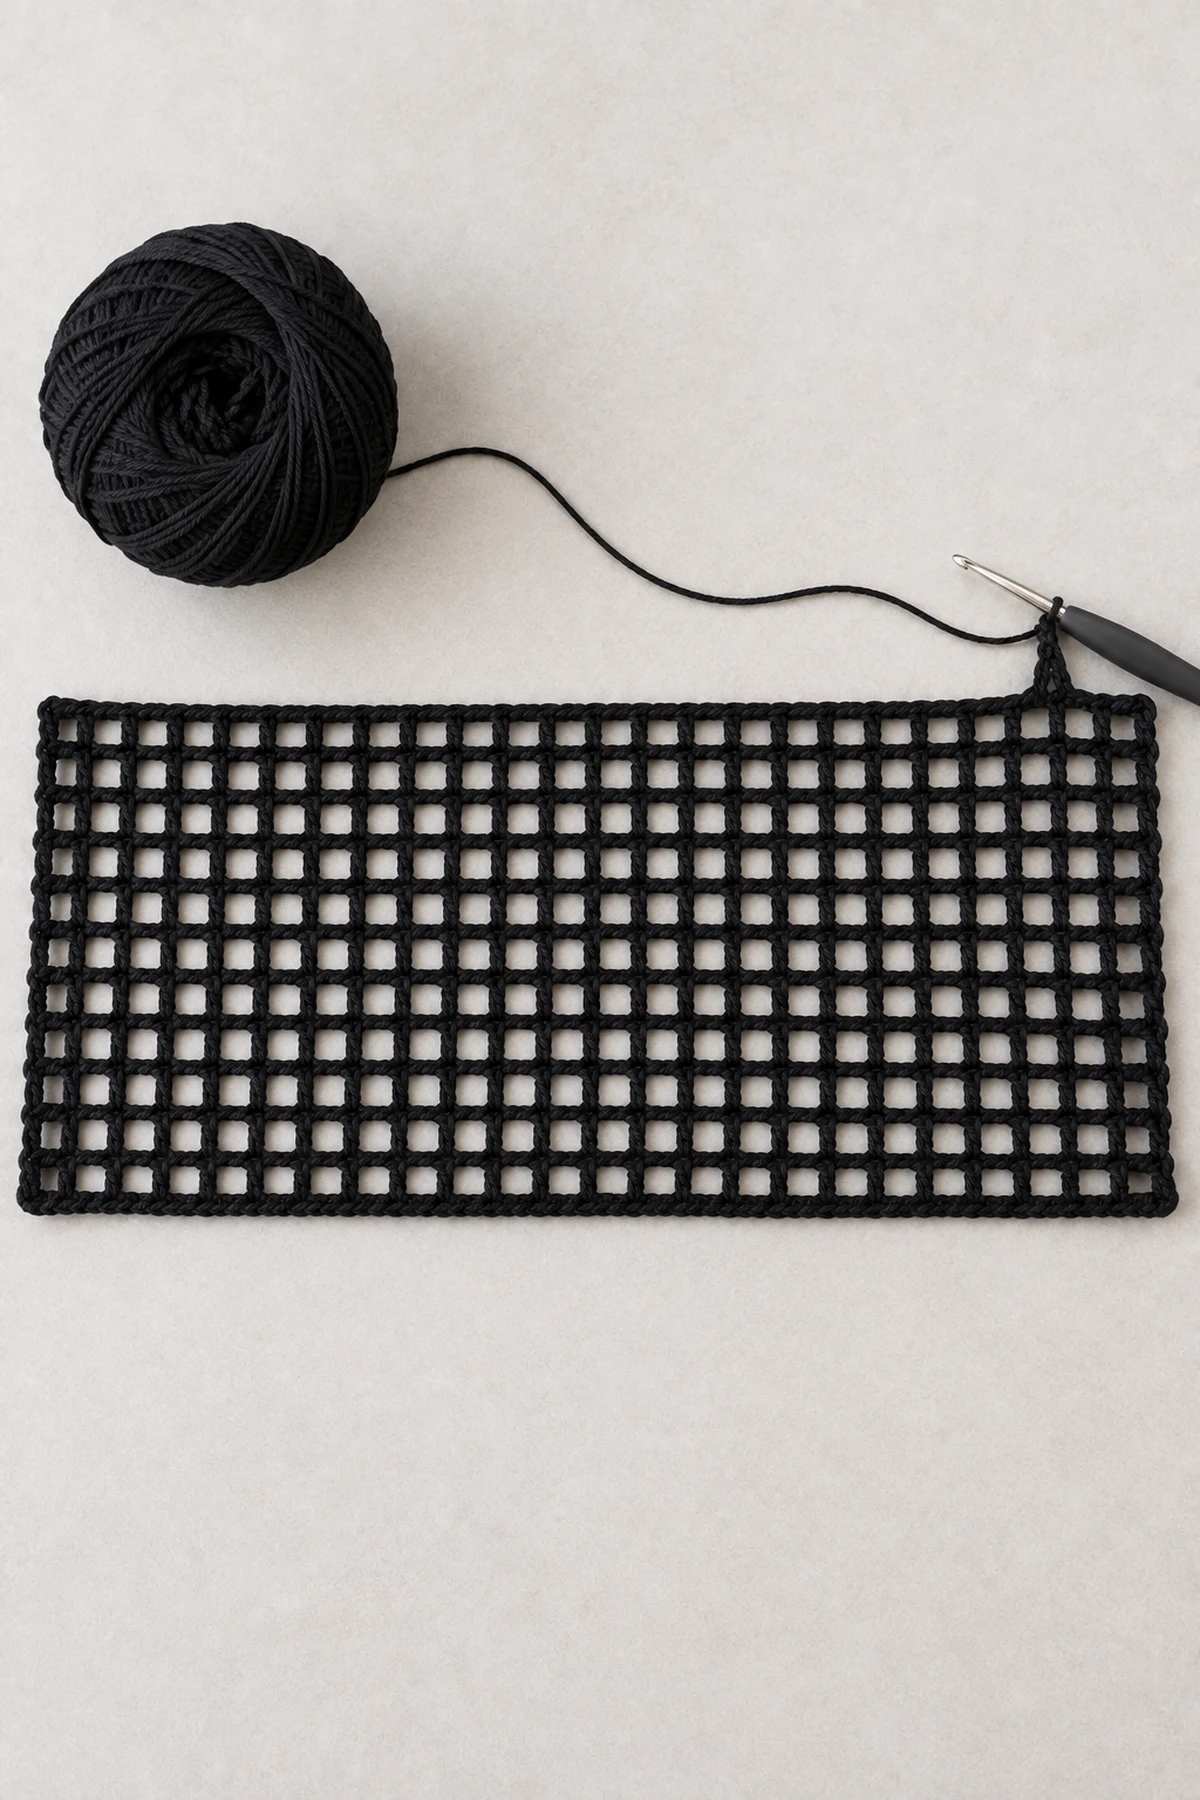
8 filet-mesh cells and 8 rows = 4 in / 10 cm after blocking. One cell is one ch-1 space plus its following dc; a row also has a starting edge dc. Make at least 12 cells and 12 rows for the swatch. Keep chains relaxed and square.
S (M, L), recommended bust 34–36 (38–40, 42–44) in / 86–91 (97–102, 107–112) cm. Finished chest 40 (44, 48) in, giving 4–6 in positive ease. Body length before edging 20 (22, 24) in. Armhole depth 8 (9, 10) in. Sleeve length from dropped shoulder seam: 6 in plus a narrow edging. Sleeve circumference 16 (18, 20) in. Front neckline is 9 in wide and 2 in deep.
| Measurement / count | S | M | L |
|---|---|---|---|
| Body mesh cells per row | 40 | 44 | 48 |
| Body dc per complete row | 41 | 45 | 49 |
| Body ch-1 spaces per complete row | 40 | 44 | 48 |
| Full body rows | 40 | 44 | 48 |
| Each shoulder cells | 11 | 13 | 15 |
| Center neck cells | 18 | 18 | 18 |
| Armhole rows on each side | 16 | 18 | 20 |
| Sleeve mesh cells | 32 | 36 | 40 |
| Sleeve rows | 12 | 12 | 12 |
US terminology and notes
US crochet terms. ch = chain, st/sts = stitch/stitches, sc = single crochet, hdc = half double crochet, dc = double crochet, sl st = slip stitch, RS/WS = right/wrong side. Turning chains never count as stitches unless explicitly stated. Always count actual stitches, not turning chains. Fasten off by drawing the tail through the last loop; leave 15 cm tails for weaving.
Count cells and dc separately: 40 cells means 41 dc, not 40. The outfit photo includes an opaque base layer; this pattern makes only the black crochet pullover. Avoid substituting a dense cardigan stitch for the specified mesh.
Construction overview
Work square filet mesh in separate front, back and two straight short-sleeve panels. The front has a shallow square neck formed by two separate shoulder strips. The silver chain-arch web is a separately crocheted eight-spoke motif sewn flat to the upper center front.
Complete garment instructions
1. Learn the mesh row
For a panel of N cells, ch (2N+3). Foundation Row: dc in third ch from hook, then repeat [ch 1, skip 1 ch, dc in next ch] N times. Result: N cells, N+1 dc and N ch-1 spaces. Every following full row: ch 2, turn, dc in first dc, repeat [ch 1, skip ch-1 space, dc in next dc] N times. The turning ch 2 never counts as an edge dc. Do not crochet additional dc into the mesh spaces.
2. Back panel
For 40 (44, 48) cells, ch 83 (91, 99). Work the foundation mesh row above: 41 (45, 49) dc and 40 (44, 48) ch-1 spaces. Work even until 40 (44, 48) rows total. Fasten off. Width is 20 (22, 24) in; length is 20 (22, 24) in.
3. Front panel and shallow square neckline
Start exactly like the back. Work 36 (40, 44) complete rows. Fasten off. Mark 11 (13, 15) cells at each side and 18 cells in the center. With RS facing, join at one outer edge dc; work a shoulder strip across its 11 (13, 15) cells: 12 (14, 16) dc and 11 (13, 15) ch-1 spaces. Turn and work even for four shoulder rows total. Fasten off. Join at the neck boundary dc of the opposite shoulder and work outward across its 11 (13, 15) cells; complete four rows in this second strip. Leave the 18 central cells unworked. Both shoulders finish level with the back. The boundary dc at each neck corner belongs to its shoulder, not to an extra cell.
4. Join shoulders and mark armholes
With RS together, align each shoulder strip with the corresponding outer cells of the back top row. Seam 12 (14, 16) dc pairs and the 11 (13, 15) intervening chain-space pairs per shoulder. Leave the middle 18 back cells open. From each shoulder seam mark 16 (18, 20) row ends down the front and the same number down the back. This gives an 8 (9, 10)-in opening on each side of the shoulder for a straight drop-shoulder sleeve.
5. Short sleeves — make two
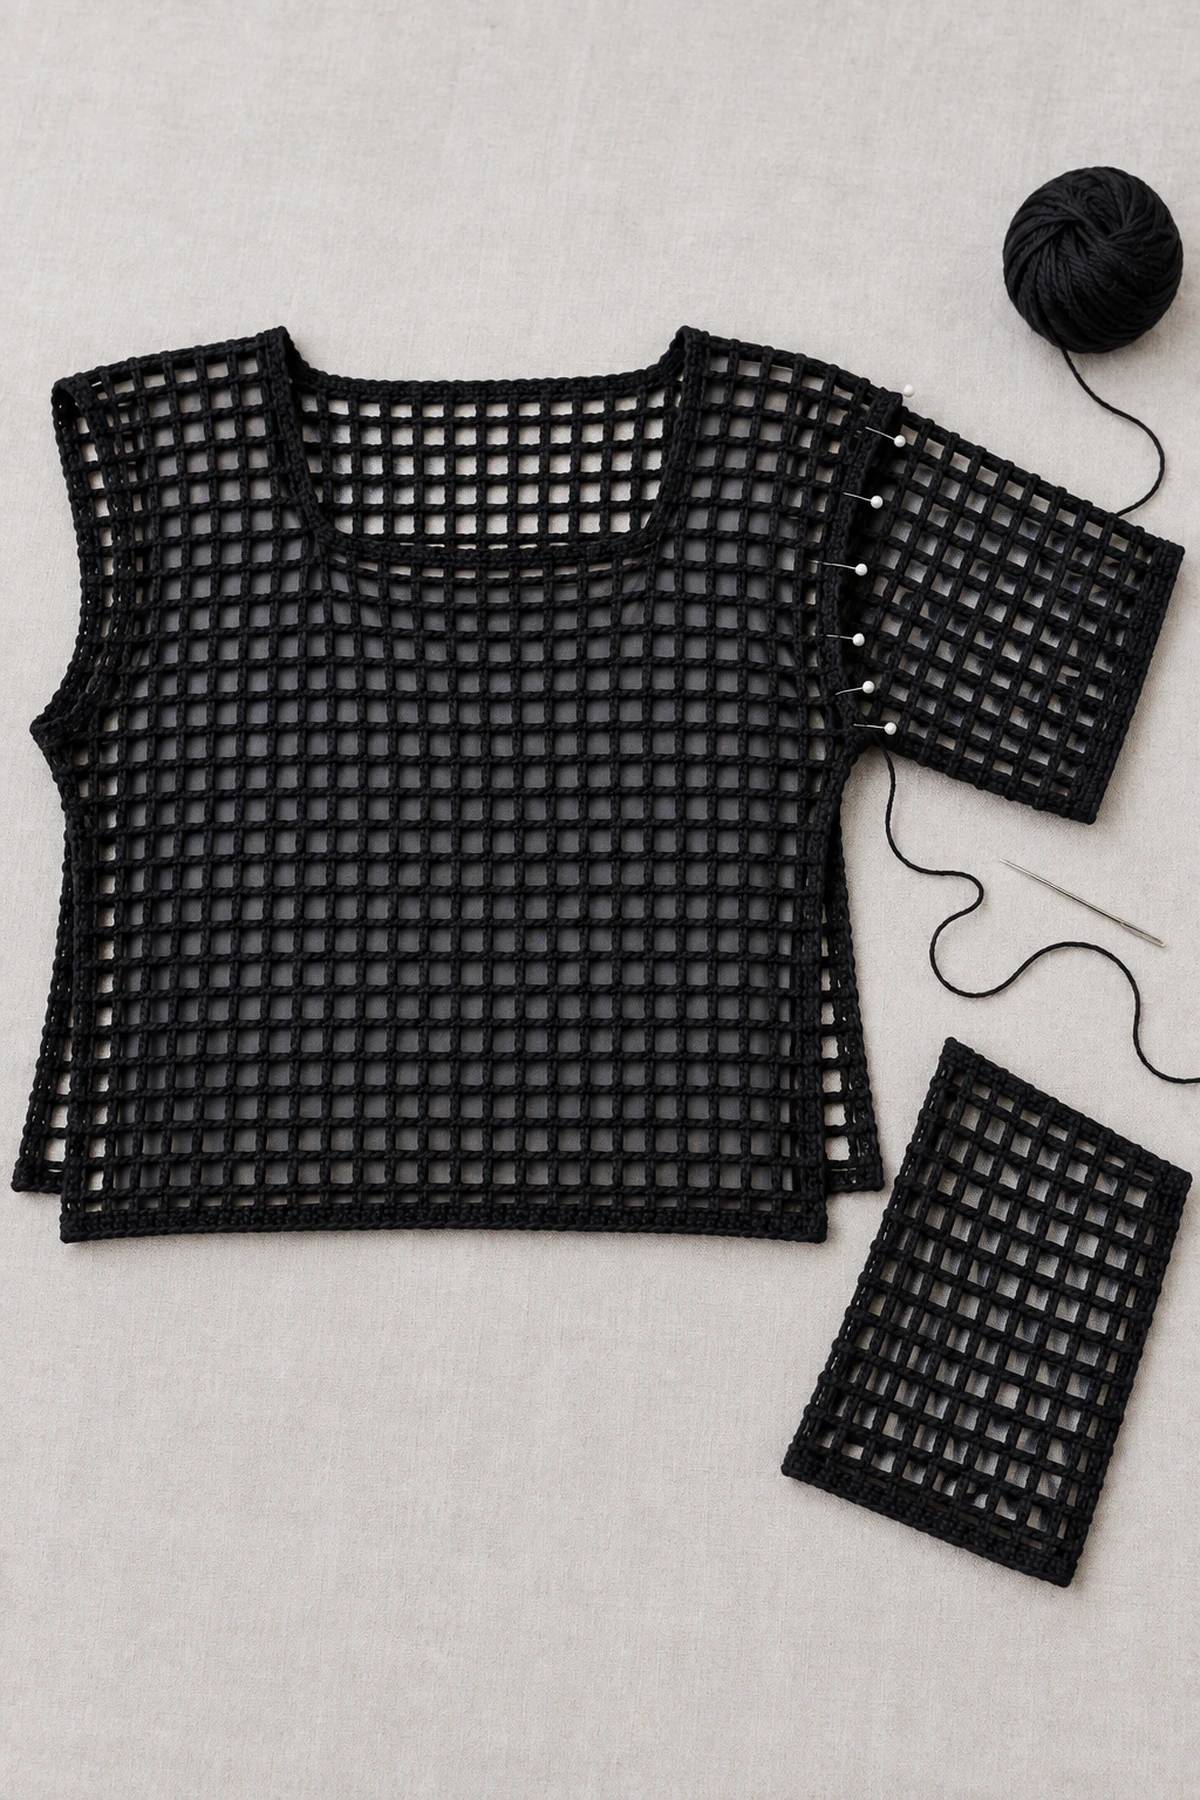
For 32 (36, 40) mesh cells, ch 67 (75, 83). Work 12 full mesh rows, maintaining 33 (37, 41) dc and 32 (36, 40) ch-1 spaces per row. Fasten off. Each sleeve panel is 16 × 6 (18 × 6, 20 × 6) in. There is no cuff taper or extra sleeve cap.
6. Attach sleeves and close the pullover
Lay the body open. Center the final sleeve row at the shoulder seam. Match 16 (18, 20) sleeve cells to the 16 (18, 20) marked row ends on each half-armhole: one cell per body row end. Pin both halves and sew through cell boundaries without gathering. Repeat for the other sleeve. Fold RS together, seam each sleeve's 12-row edges together, then continue down the body side below the armhole. The sleeve openings stay wide and short.
7. Plain black edging
At the neck work 2 sc per mesh cell along the 18-cell back opening and the 18-cell front neck base, plus 2 sc per row end along each four-row vertical front neck edge: 36+36+8+8=88 sc. Do not add stitches at corners; keep tension loose. Along the hem work 2 sc per mesh cell around: 160 (176, 192) sc. Around each sleeve cuff work 2 sc per mesh cell: 64 (72, 80) sc. In each edging a cell receives one sc into its ch-1 space and one sc into the following dc; count a shared seam boundary only once. Join rounds with sl st and fasten off.
8. Crochet one eight-spoke spiderweb
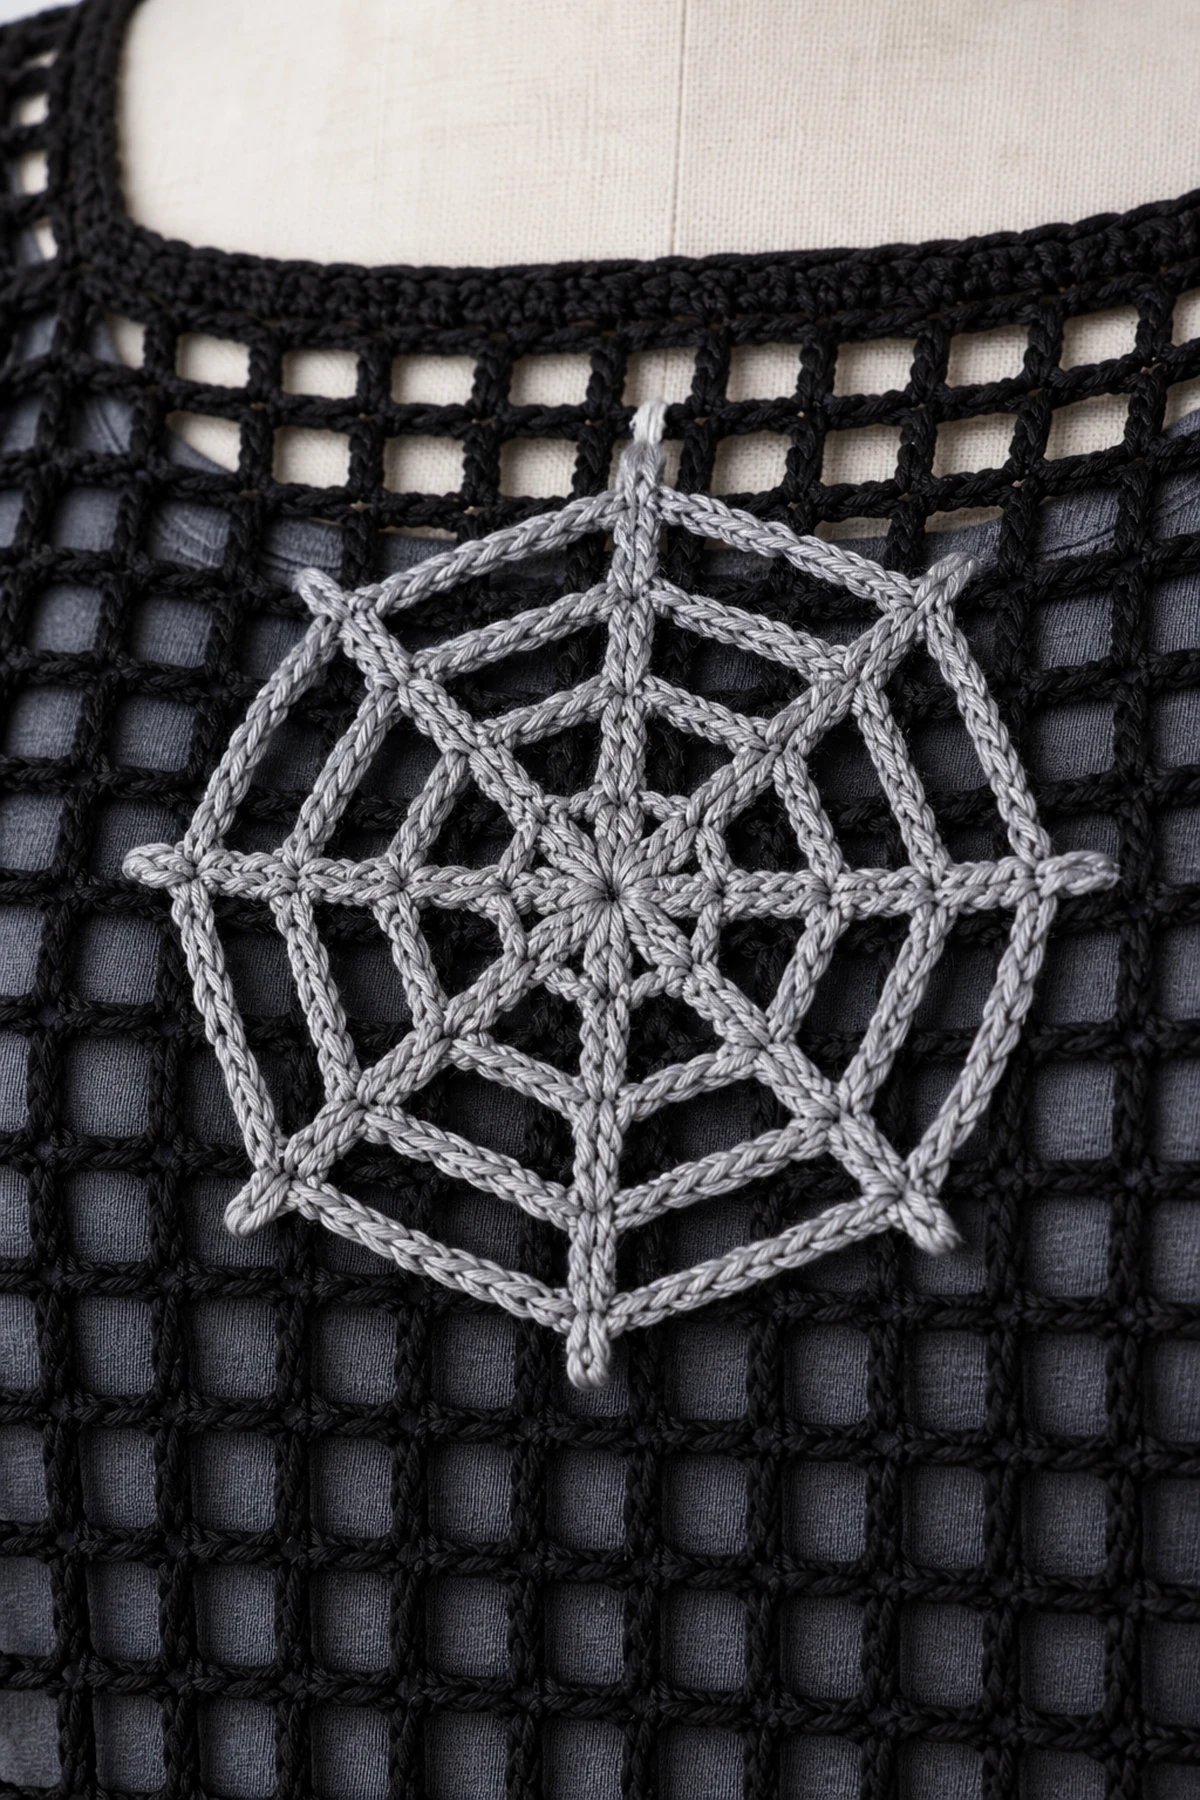
With silver-gray make a magic ring; Round 0: 8 sc into ring, tighten and join. Round 1: ch 2 (does not count), dc in the first sc, ch 2; repeat [dc in next sc, ch 2] seven times; join to first dc. There are 8 dc spokes and 8 ch-2 arches. Round 2: ch 2, dc in the same first dc, ch 3; repeat [dc in next dc, ch 3] seven times; skip all previous chain arches, join to first dc. Round 3 repeats the eight-spoke structure with ch-4 arches. Round 4 uses ch-5 arches. Round 5 uses ch-6 arches. Every round has exactly 8 dc spokes; never add dc inside an arch. Fasten off leaving a long sewing tail. Block to an approximately 5–6-in circle with the eight spokes evenly spaced.
9. Attach the web and finish the outfit
Lay the top RS up over a flat board. Center the web horizontally on the front with its top about 1 in below the front neck base. Pin all eight outer spoke ends, then lightly tack every spoke and several points of each outer chain arch to underlying black mesh. Keep the motif flat without pulling the body inward; stitch through the front layer only. It remains an open chain web, not a solid circle. There is exactly one web motif and no separate spider. Weave in ends, block the whole garment to its measurements and style over an opaque slate-gray shirt or dress.
Blocking and finishing
Soak according to the yarn label, squeeze gently in a towel, and lay flat to the stated measurements without pulling the fabric beyond gauge. Dry completely. Never apply a hot iron directly to yarn. Check seams, weave each tail back and forth through at least 5 cm of stitches, and trim only after the fabric has settled.
Conclusion
The finished mesh top is ready for an opaque base layer; block the square cells gently and keep the single silver spiderweb centered and flat.
Printable pattern card: Women's Halloween Crochet Spiderweb Top Outfit
Carly / CookWithCarly. Intermediate. US crochet terms. Yarn: DK. Hook: 4.5 mm, or size needed for gauge.
Materials
Black DK cotton-blend yarn with a soft drape: approximately 800 (950, 1,100) yd. Silver-gray DK yarn: 40 yd for one web. 4.5 mm hook, 10 stitch markers, blunt needle, scissors and measuring tape. An opaque shirt or dress for styling is not included in the crochet yarn requirement.
Gauge
8 filet-mesh cells and 8 rows = 4 in / 10 cm after blocking. One cell is one ch-1 space plus its following dc; a row also has a starting edge dc. Make at least 12 cells and 12 rows for the swatch. Keep chains relaxed and square.
Sizes and measurements
S (M, L), recommended bust 34–36 (38–40, 42–44) in / 86–91 (97–102, 107–112) cm. Finished chest 40 (44, 48) in, giving 4–6 in positive ease. Body length before edging 20 (22, 24) in. Armhole depth 8 (9, 10) in. Sleeve length from dropped shoulder seam: 6 in plus a narrow edging. Sleeve circumference 16 (18, 20) in. Front neckline is 9 in wide and 2 in deep.
Abbreviations
US crochet terms. ch = chain, st/sts = stitch/stitches, sc = single crochet, hdc = half double crochet, dc = double crochet, sl st = slip stitch, RS/WS = right/wrong side. Turning chains never count as stitches unless explicitly stated. Always count actual stitches, not turning chains. Fasten off by drawing the tail through the last loop; leave 15 cm tails for weaving.
Construction
Work square filet mesh in separate front, back and two straight short-sleeve panels. The front has a shallow square neck formed by two separate shoulder strips. The silver chain-arch web is a separately crocheted eight-spoke motif sewn flat to the upper center front.
| Measurement / count | S | M | L |
|---|---|---|---|
| Body mesh cells per row | 40 | 44 | 48 |
| Body dc per complete row | 41 | 45 | 49 |
| Body ch-1 spaces per complete row | 40 | 44 | 48 |
| Full body rows | 40 | 44 | 48 |
| Each shoulder cells | 11 | 13 | 15 |
| Center neck cells | 18 | 18 | 18 |
| Armhole rows on each side | 16 | 18 | 20 |
| Sleeve mesh cells | 32 | 36 | 40 |
| Sleeve rows | 12 | 12 | 12 |
1. Learn the mesh row
For a panel of N cells, ch (2N+3). Foundation Row: dc in third ch from hook, then repeat [ch 1, skip 1 ch, dc in next ch] N times. Result: N cells, N+1 dc and N ch-1 spaces. Every following full row: ch 2, turn, dc in first dc, repeat [ch 1, skip ch-1 space, dc in next dc] N times. The turning ch 2 never counts as an edge dc. Do not crochet additional dc into the mesh spaces.
2. Back panel
For 40 (44, 48) cells, ch 83 (91, 99). Work the foundation mesh row above: 41 (45, 49) dc and 40 (44, 48) ch-1 spaces. Work even until 40 (44, 48) rows total. Fasten off. Width is 20 (22, 24) in; length is 20 (22, 24) in.
3. Front panel and shallow square neckline
Start exactly like the back. Work 36 (40, 44) complete rows. Fasten off. Mark 11 (13, 15) cells at each side and 18 cells in the center. With RS facing, join at one outer edge dc; work a shoulder strip across its 11 (13, 15) cells: 12 (14, 16) dc and 11 (13, 15) ch-1 spaces. Turn and work even for four shoulder rows total. Fasten off. Join at the neck boundary dc of the opposite shoulder and work outward across its 11 (13, 15) cells; complete four rows in this second strip. Leave the 18 central cells unworked. Both shoulders finish level with the back. The boundary dc at each neck corner belongs to its shoulder, not to an extra cell.
4. Join shoulders and mark armholes
With RS together, align each shoulder strip with the corresponding outer cells of the back top row. Seam 12 (14, 16) dc pairs and the 11 (13, 15) intervening chain-space pairs per shoulder. Leave the middle 18 back cells open. From each shoulder seam mark 16 (18, 20) row ends down the front and the same number down the back. This gives an 8 (9, 10)-in opening on each side of the shoulder for a straight drop-shoulder sleeve.
5. Short sleeves — make two
For 32 (36, 40) mesh cells, ch 67 (75, 83). Work 12 full mesh rows, maintaining 33 (37, 41) dc and 32 (36, 40) ch-1 spaces per row. Fasten off. Each sleeve panel is 16 × 6 (18 × 6, 20 × 6) in. There is no cuff taper or extra sleeve cap.
6. Attach sleeves and close the pullover
Lay the body open. Center the final sleeve row at the shoulder seam. Match 16 (18, 20) sleeve cells to the 16 (18, 20) marked row ends on each half-armhole: one cell per body row end. Pin both halves and sew through cell boundaries without gathering. Repeat for the other sleeve. Fold RS together, seam each sleeve's 12-row edges together, then continue down the body side below the armhole. The sleeve openings stay wide and short.
7. Plain black edging
At the neck work 2 sc per mesh cell along the 18-cell back opening and the 18-cell front neck base, plus 2 sc per row end along each four-row vertical front neck edge: 36+36+8+8=88 sc. Do not add stitches at corners; keep tension loose. Along the hem work 2 sc per mesh cell around: 160 (176, 192) sc. Around each sleeve cuff work 2 sc per mesh cell: 64 (72, 80) sc. In each edging a cell receives one sc into its ch-1 space and one sc into the following dc; count a shared seam boundary only once. Join rounds with sl st and fasten off.
8. Crochet one eight-spoke spiderweb
With silver-gray make a magic ring; Round 0: 8 sc into ring, tighten and join. Round 1: ch 2 (does not count), dc in the first sc, ch 2; repeat [dc in next sc, ch 2] seven times; join to first dc. There are 8 dc spokes and 8 ch-2 arches. Round 2: ch 2, dc in the same first dc, ch 3; repeat [dc in next dc, ch 3] seven times; skip all previous chain arches, join to first dc. Round 3 repeats the eight-spoke structure with ch-4 arches. Round 4 uses ch-5 arches. Round 5 uses ch-6 arches. Every round has exactly 8 dc spokes; never add dc inside an arch. Fasten off leaving a long sewing tail. Block to an approximately 5–6-in circle with the eight spokes evenly spaced.
9. Attach the web and finish the outfit
Lay the top RS up over a flat board. Center the web horizontally on the front with its top about 1 in below the front neck base. Pin all eight outer spoke ends, then lightly tack every spoke and several points of each outer chain arch to underlying black mesh. Keep the motif flat without pulling the body inward; stitch through the front layer only. It remains an open chain web, not a solid circle. There is exactly one web motif and no separate spider. Weave in ends, block the whole garment to its measurements and style over an opaque slate-gray shirt or dress.
Finishing and blocking
Soak according to the yarn label, squeeze gently in a towel, and lay flat to the stated measurements without pulling the fabric beyond gauge. Dry completely. Never apply a hot iron directly to yarn. Check seams, weave each tail back and forth through at least 5 cm of stitches, and trim only after the fabric has settled.
Original digital pattern by Carly. The written measurements are calculated from the blocked gauge. This design has not been independently test-crocheted in every size. Images are AI-generated design illustrations, not photographs of a tested sample; follow the written stitch counts and your measured gauge.