Jump to the complete pattern card
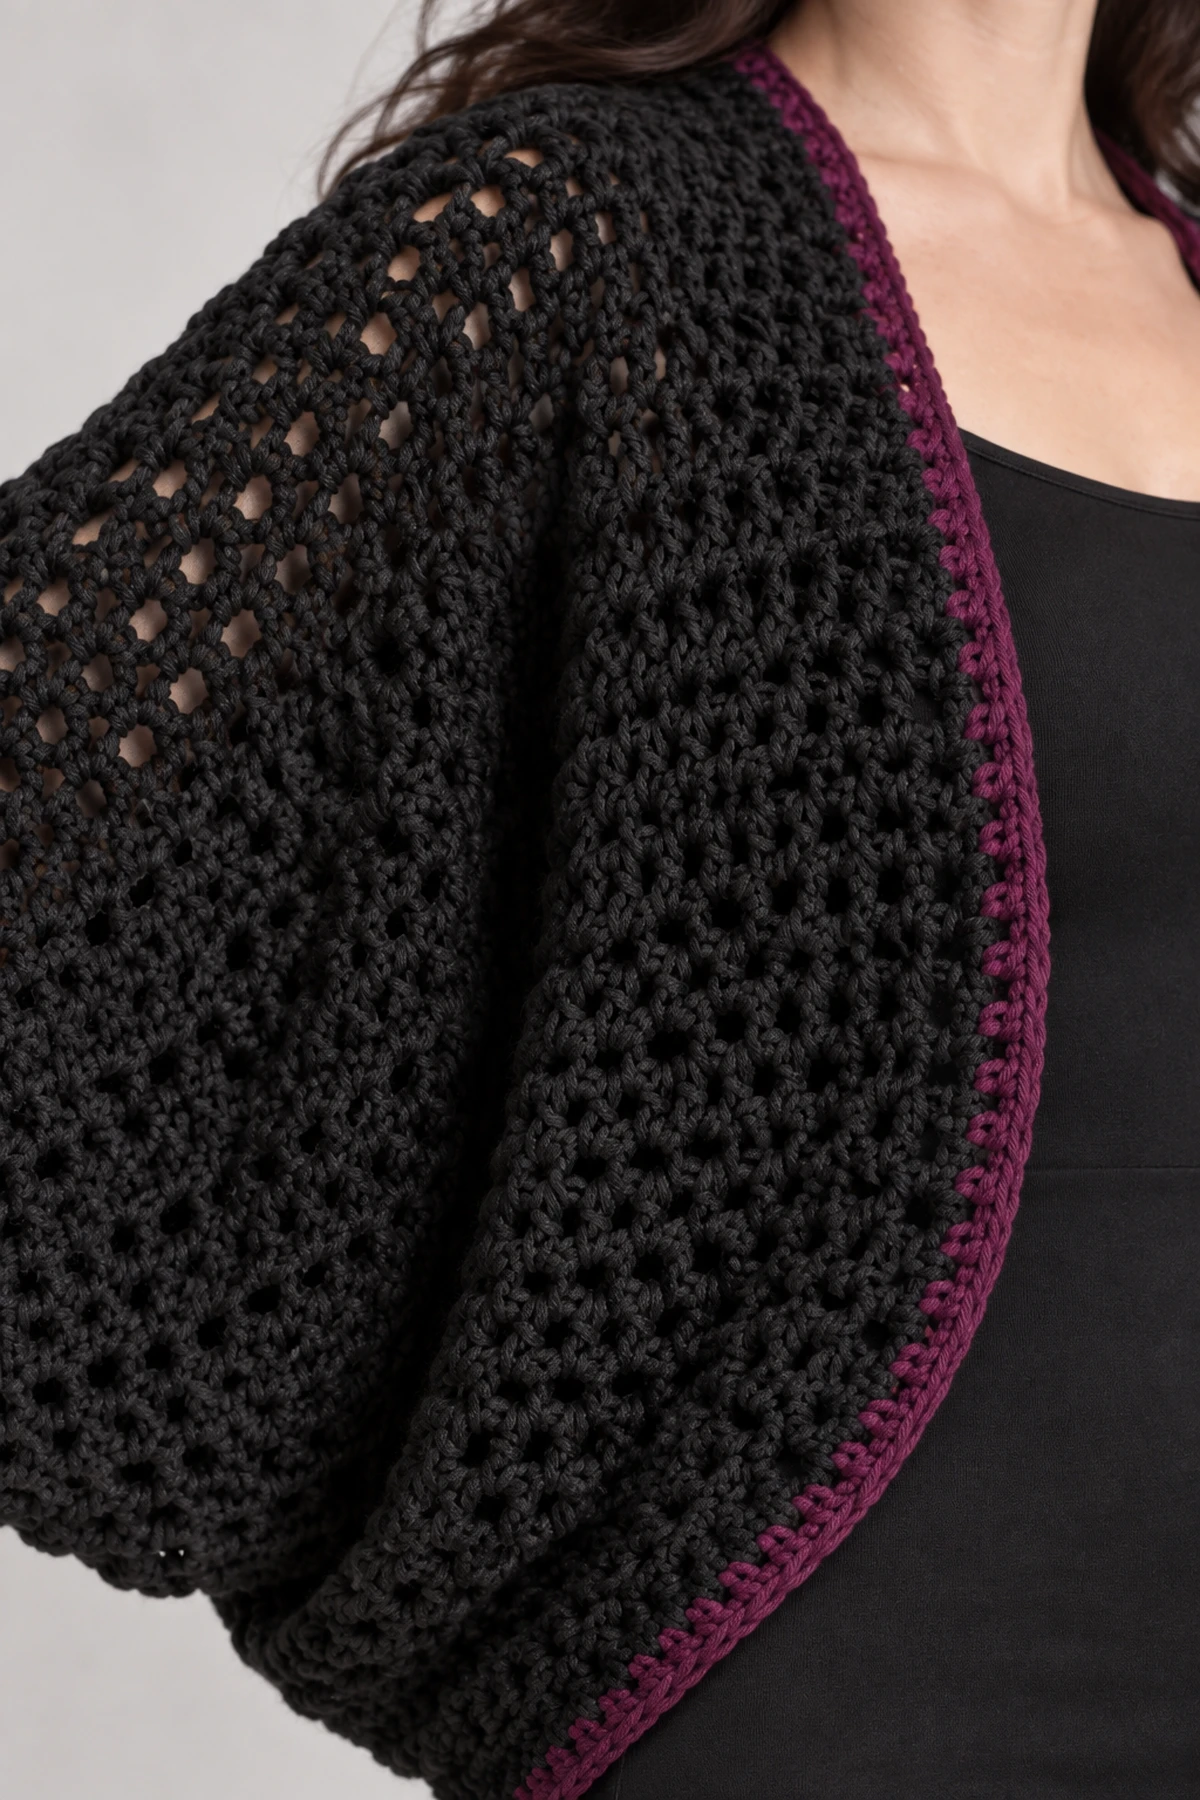
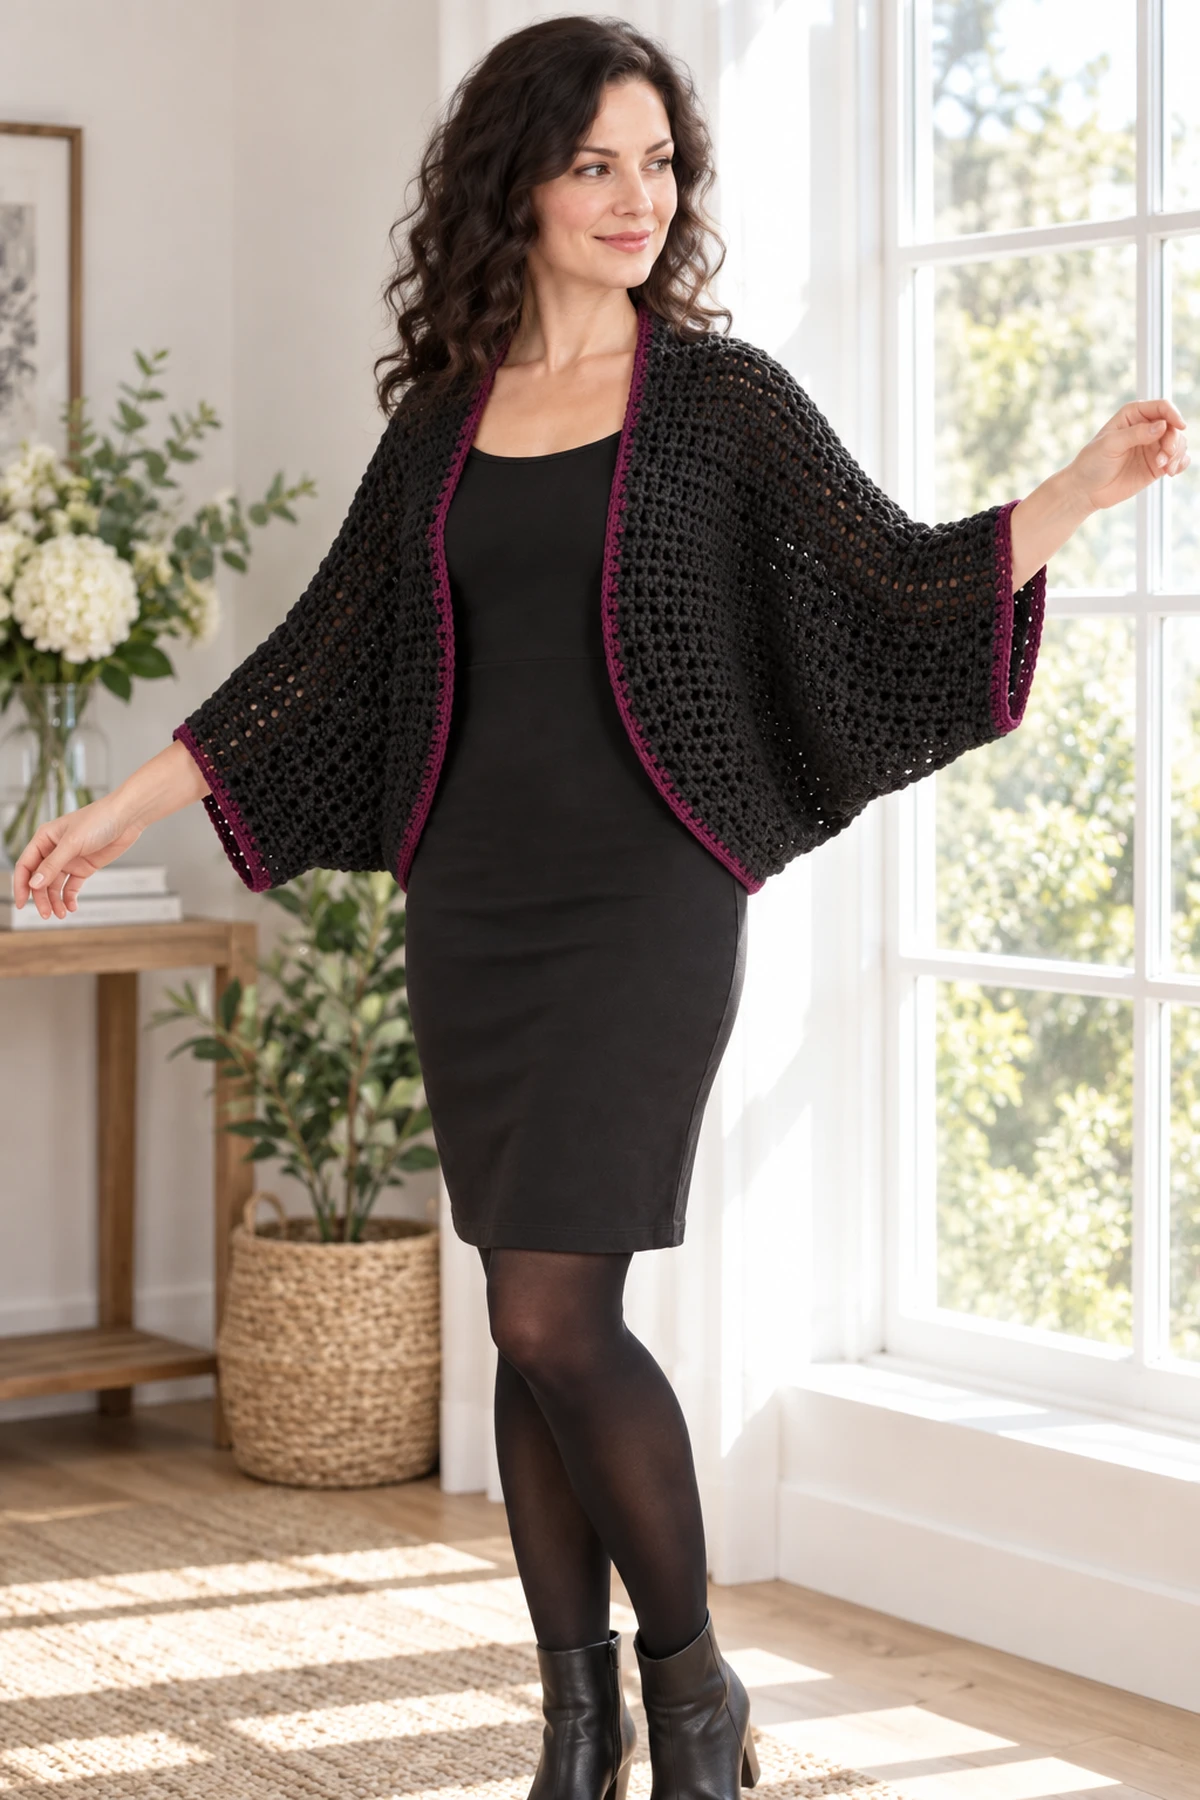
This gothic shrug starts as a wide black eyelet-crochet rectangle. Folding and seaming the ends produces generous batwing sleeves and a softly rounded open front, with a narrow plum edge to define the drape. It has no separate cardigan fronts or fitted sleeve caps.
Original digital pattern by Carly. The written measurements are calculated from the blocked gauge. This design has not been independently test-crocheted in every size. Images are AI-generated design illustrations, not photographs of a tested sample; follow the written stitch counts and your measured gauge.
Materials and tools
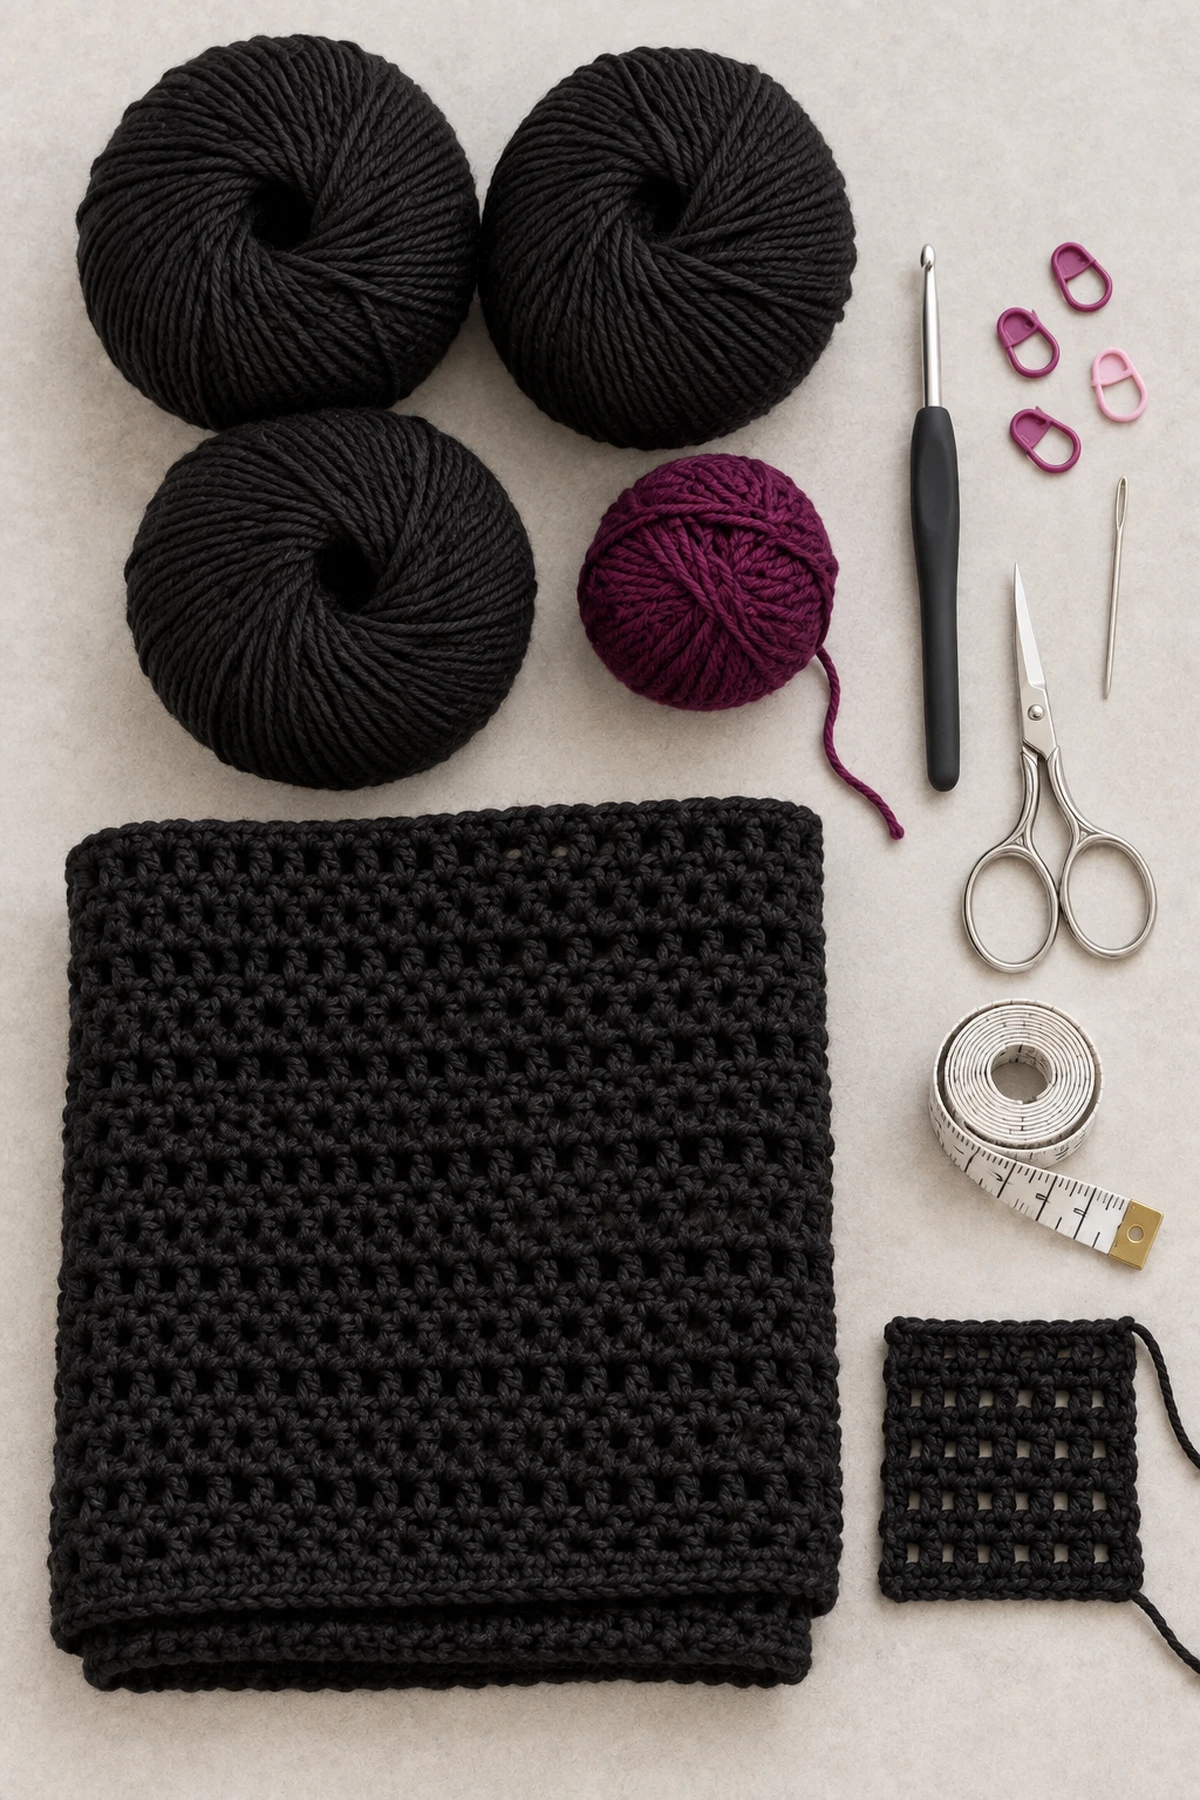
Black DK smooth yarn: approximately 950 (1,150, 1,400) yd. Deep plum DK yarn: 100 (120, 140) yd for a narrow border. 4.5 mm hook, 8 stitch markers, blunt yarn needle, scissors, measuring tape.
Gauge, sizes and fit
16 stitch positions and 12 rows = 4 in / 10 cm in the blocked alternating eyelet pattern. A ch-1 space counts as one position when measuring width. Work a 24-position, 18-row swatch. The alternating open dc row and solid sc row should drape freely.
S/M (L/XL, 2X/3X). Intended for bust 32–38 (40–46, 48–54) in / 81–97 (102–117, 122–137) cm. This is an open-front shrug, so it has no closed bust circumference: do not treat the rectangle width as chest circumference. Finished rectangle is 36 × 24 (40 × 26, 44 × 28) in. Finished back depth from fold to lower edge is 12 (13, 14) in. The large, loose upper-arm area is deliberate batwing ease; sleeve openings measure 24 (26, 28) in around before edging. The ends generally sit between elbow and forearm depending on shoulder width. Confirm these measurements on your body before seaming.
| Measurement / count | S/M | L/XL | 2X/3X |
|---|---|---|---|
| Rectangle stitches | 144 | 160 | 176 |
| Rectangle rows | 72 | 78 | 84 |
| Rectangle width, in | 36 | 40 | 44 |
| Rectangle height, in | 24 | 26 | 28 |
| Seam length from each short end, in | 8 | 9 | 10 |
| Stitch pairs in each seam | 32 | 36 | 40 |
| Unseamed central length, in | 20 | 22 | 24 |
| Sleeve opening circumference, in | 24 | 26 | 28 |
US terminology and notes
US crochet terms. ch = chain, st/sts = stitch/stitches, sc = single crochet, hdc = half double crochet, dc = double crochet, sl st = slip stitch, RS/WS = right/wrong side. Turning chains never count as stitches unless explicitly stated. Always count actual stitches, not turning chains. Fasten off by drawing the tail through the last loop; leave 15 cm tails for weaving.
The three grouped sizes describe an adaptable open garment, not a fitted sweater. Arm span, shoulder width and upper-arm comfort determine fit more strongly than bust. For extra back depth use the larger grouped size; do not arbitrarily add separate sleeve panels.
Construction overview
A single eyelet rectangle is folded with its long edges together. Alternating eyelet dc rows and solid sc rows create the open texture. Seam pairs of foundation and final-row stitches inward from each end, leaving the middle open. The two short edges become sleeve openings; add a slim plum sc border.
Complete garment instructions
1. Make the rectangle
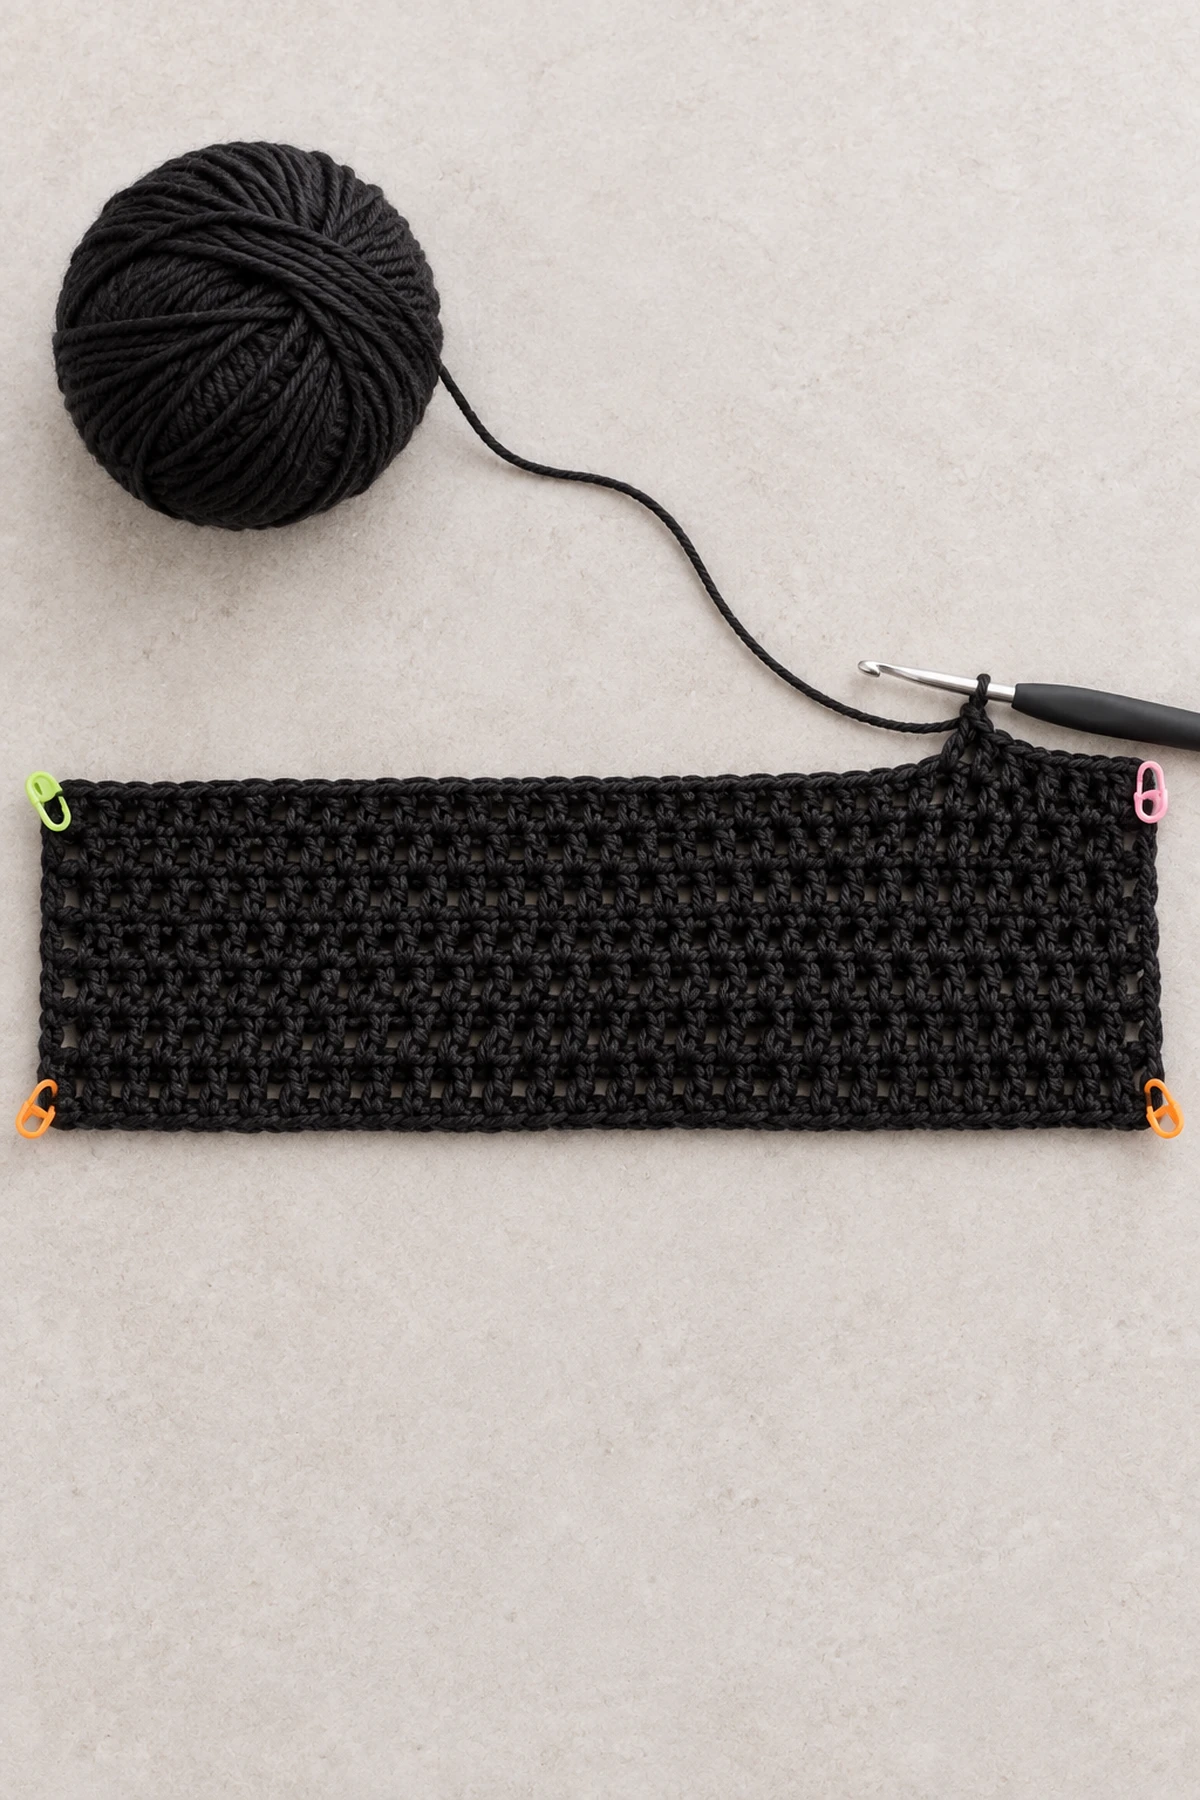
Ch 145 (161, 177). Row 1: sc in second ch from hook and across: 144 (160, 176) sc. Row 2, eyelet row: ch 2, turn, dc in first st; repeat [ch 1, skip next st, dc in next st] 71 (79, 87) times; dc in final st. Count 73 (81, 89) dc and 71 (79, 87) ch-1 spaces, totaling 144 (160, 176) positions. Row 3, solid row: ch 1, turn, sc in each dc and 1 sc in each ch-1 space: 144 (160, 176) sc. Repeat Rows 2 and 3 through Row 71 (77, 83). For final Row 72 (78, 84), work a solid sc row again so both long edges are stable for seaming. Fasten off. Keep the final row at 144 (160, 176) stitches.
2. Block before deciding seam placement
Wet-block to 36 × 24 (40 × 26, 44 × 28) in, with straight corners. Let dry fully. Lay the rectangle with the foundation and final row as the two long horizontal edges. Fold so those two long edges meet, RS together. The folded piece is now 36 × 12 (40 × 13, 44 × 14) in. The fold will run across the upper back and along the tops of the sleeves.
3. Make the batwing seams
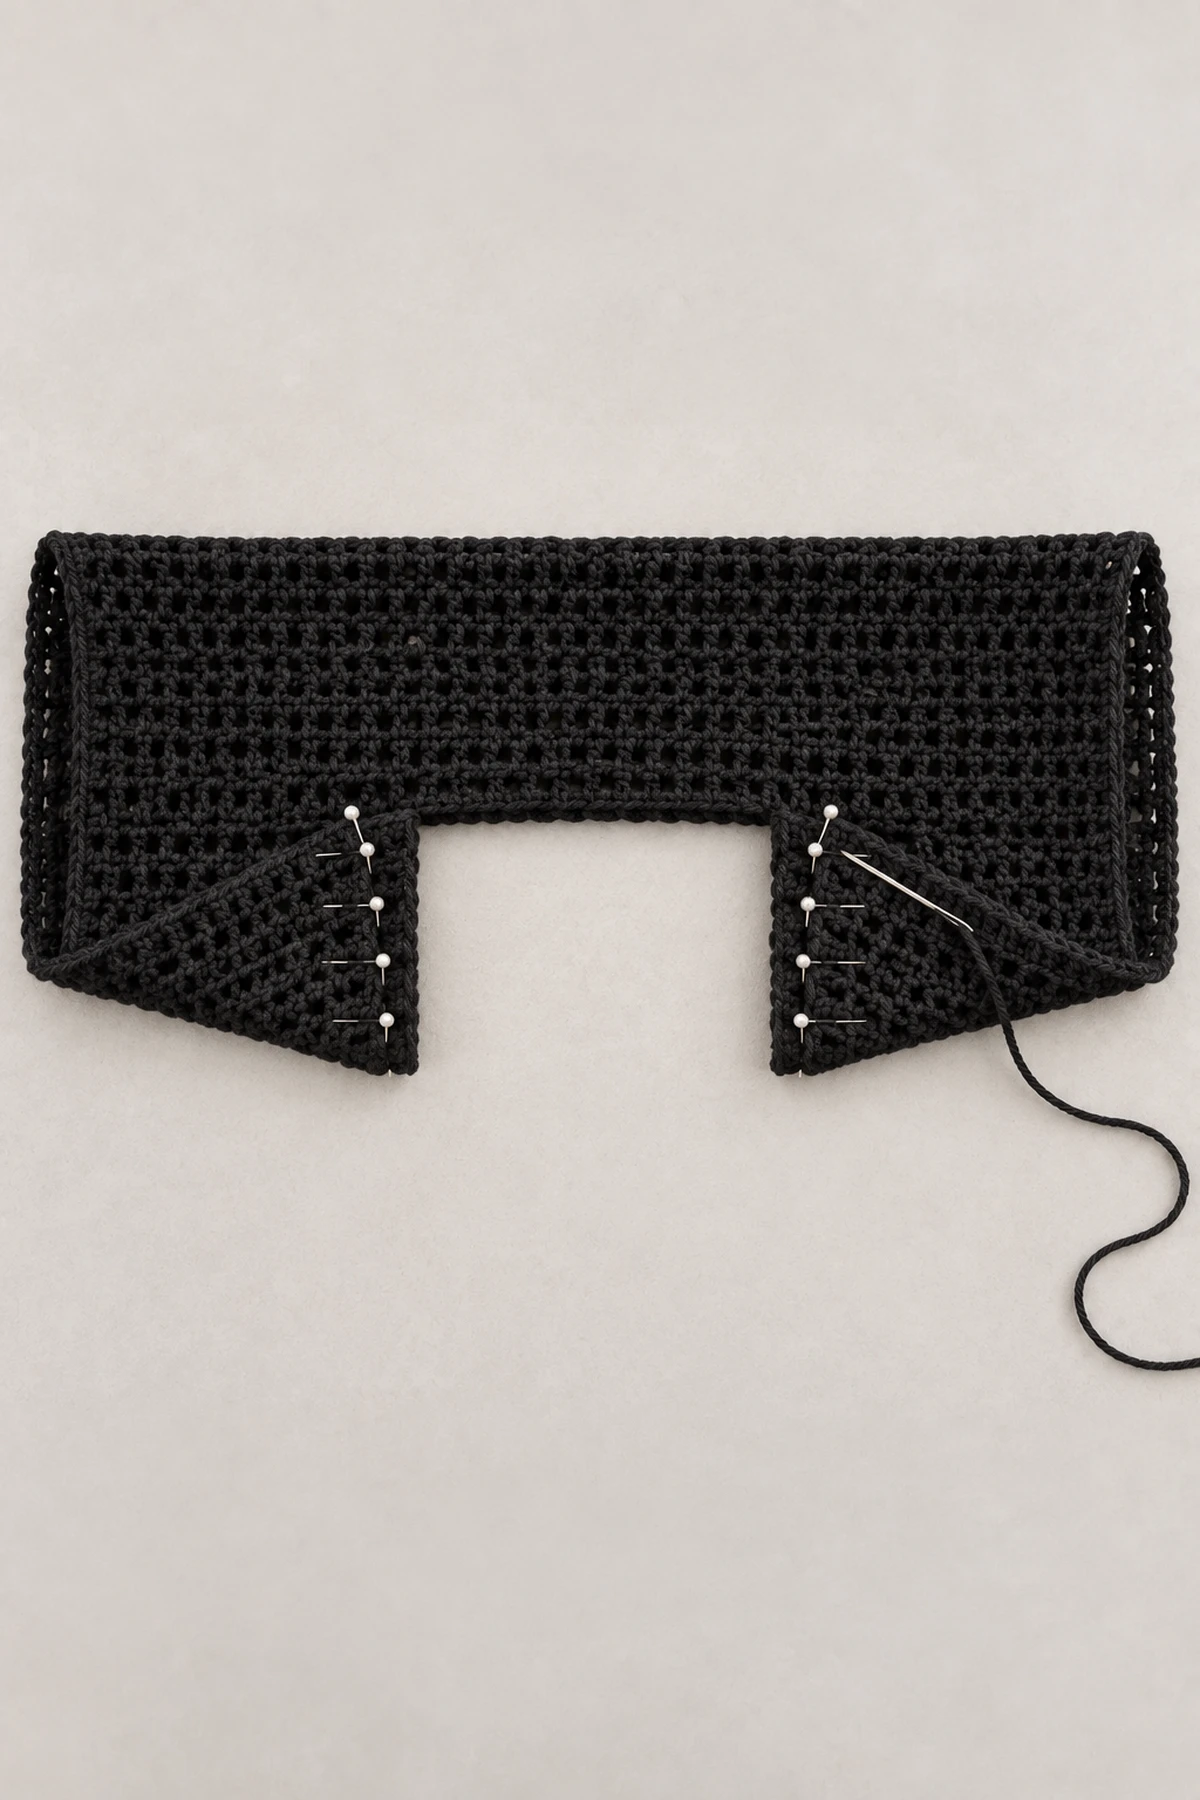
Beginning at one short end, mattress-stitch the first 32 (36, 40) stitch pairs of the meeting long edges. Each pair joins one foundation stitch to one final-row stitch. This seam measures 8 (9, 10) in. Repeat from the opposite short end. Leave the central 80 (88, 96) stitches on each long edge unseamed: 144−32−32=80; 160−36−36=88; 176−40−40=96. The combined central opening therefore has 160 (176, 192) edge stitches around. Do not seam the short edges; they are the sleeve openings.
4. Try on and orient the shrug
Turn RS out, put one arm through each short-edge opening, and let the fold lie across the upper back. The central unseamed section falls into an oval front opening. Both sleeve seams run below the arms. The broad fabric beneath each arm creates the dolman shape. There is no separate shoulder or armhole shaping; the fold and seam stops supply it. If the sleeve length or opening feels wrong, unpick and adjust the seam length in whole 4-stitch / 1-in increments on both sides, record the change, and recalculate the opening count before edging.
5. Edge the front opening
Using plum and with RS facing, join at a seam stop. Ch 1, sc in each unseamed stitch around both long edges: 160 (176, 192) sc in the unmodified pattern. Join with sl st in first sc. Do not work into the sewn sections and do not add stitches at the seam stops. Fasten off. This one-row border should lie flat without tightening the opening.
6. Edge both sleeve openings
Join plum at the underside of one sleeve. Work along the complete short edge: 1 sc into each short sc row end and 2 sc into each tall eyelet dc row end. There are 37 (40, 43) sc row ends and 35 (38, 41) eyelet row ends, giving 107 (116, 125) sc around the sleeve opening. Join with sl st and fasten off. Repeat at the other sleeve. These remain wide openings, not gathered cuffs; do not decrease them into fitted wrists.
7. Final fit and finish
Check that the two seams have the same number of stitch pairs and end at matching points. Weave in black tails inside black rows and plum tails into the plum border. Block the edges gently without flattening the rounded drape. Wear over an opaque fitted top or dress; the open center is a feature, not an unfinished front.
Blocking and finishing
Soak according to the yarn label, squeeze gently in a towel, and lay flat to the stated measurements without pulling the fabric beyond gauge. Dry completely. Never apply a hot iron directly to yarn. Check seams, weave each tail back and forth through at least 5 cm of stitches, and trim only after the fabric has settled.
Conclusion
The finished shrug should drape broadly across the back and arms; keep both seam stops equal so the open front and batwing shape remain balanced.
Printable pattern card: Women's Gothic Crochet Batwing Shrug
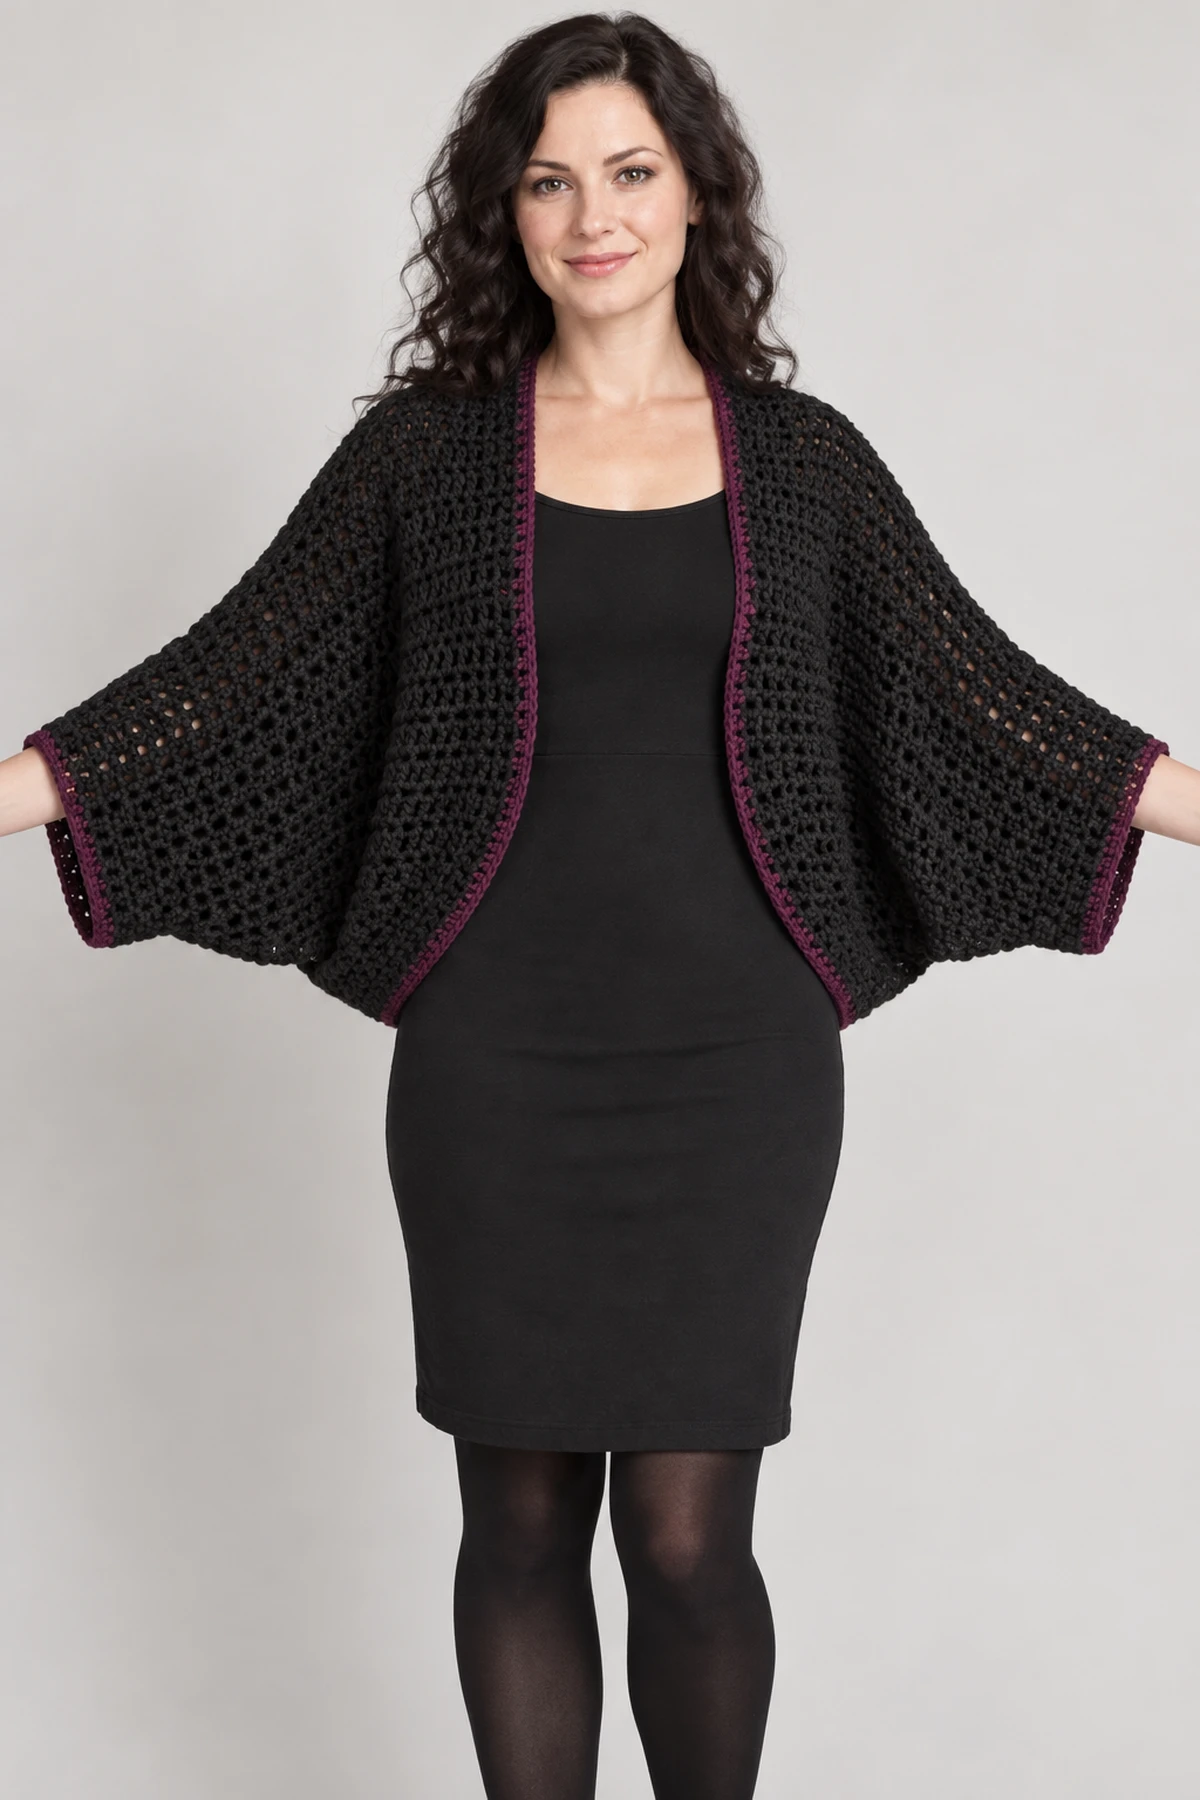
Carly / CookWithCarly. Advanced Beginner. US crochet terms. Yarn: DK. Hook: 4.5 mm, or size needed for gauge.
Materials
Black DK smooth yarn: approximately 950 (1,150, 1,400) yd. Deep plum DK yarn: 100 (120, 140) yd for a narrow border. 4.5 mm hook, 8 stitch markers, blunt yarn needle, scissors, measuring tape.
Gauge
16 stitch positions and 12 rows = 4 in / 10 cm in the blocked alternating eyelet pattern. A ch-1 space counts as one position when measuring width. Work a 24-position, 18-row swatch. The alternating open dc row and solid sc row should drape freely.
Sizes and measurements
S/M (L/XL, 2X/3X). Intended for bust 32–38 (40–46, 48–54) in / 81–97 (102–117, 122–137) cm. This is an open-front shrug, so it has no closed bust circumference: do not treat the rectangle width as chest circumference. Finished rectangle is 36 × 24 (40 × 26, 44 × 28) in. Finished back depth from fold to lower edge is 12 (13, 14) in. The large, loose upper-arm area is deliberate batwing ease; sleeve openings measure 24 (26, 28) in around before edging. The ends generally sit between elbow and forearm depending on shoulder width. Confirm these measurements on your body before seaming.
Abbreviations
US crochet terms. ch = chain, st/sts = stitch/stitches, sc = single crochet, hdc = half double crochet, dc = double crochet, sl st = slip stitch, RS/WS = right/wrong side. Turning chains never count as stitches unless explicitly stated. Always count actual stitches, not turning chains. Fasten off by drawing the tail through the last loop; leave 15 cm tails for weaving.
Construction
A single eyelet rectangle is folded with its long edges together. Alternating eyelet dc rows and solid sc rows create the open texture. Seam pairs of foundation and final-row stitches inward from each end, leaving the middle open. The two short edges become sleeve openings; add a slim plum sc border.
| Measurement / count | S/M | L/XL | 2X/3X |
|---|---|---|---|
| Rectangle stitches | 144 | 160 | 176 |
| Rectangle rows | 72 | 78 | 84 |
| Rectangle width, in | 36 | 40 | 44 |
| Rectangle height, in | 24 | 26 | 28 |
| Seam length from each short end, in | 8 | 9 | 10 |
| Stitch pairs in each seam | 32 | 36 | 40 |
| Unseamed central length, in | 20 | 22 | 24 |
| Sleeve opening circumference, in | 24 | 26 | 28 |
1. Make the rectangle
Ch 145 (161, 177). Row 1: sc in second ch from hook and across: 144 (160, 176) sc. Row 2, eyelet row: ch 2, turn, dc in first st; repeat [ch 1, skip next st, dc in next st] 71 (79, 87) times; dc in final st. Count 73 (81, 89) dc and 71 (79, 87) ch-1 spaces, totaling 144 (160, 176) positions. Row 3, solid row: ch 1, turn, sc in each dc and 1 sc in each ch-1 space: 144 (160, 176) sc. Repeat Rows 2 and 3 through Row 71 (77, 83). For final Row 72 (78, 84), work a solid sc row again so both long edges are stable for seaming. Fasten off. Keep the final row at 144 (160, 176) stitches.
2. Block before deciding seam placement
Wet-block to 36 × 24 (40 × 26, 44 × 28) in, with straight corners. Let dry fully. Lay the rectangle with the foundation and final row as the two long horizontal edges. Fold so those two long edges meet, RS together. The folded piece is now 36 × 12 (40 × 13, 44 × 14) in. The fold will run across the upper back and along the tops of the sleeves.
3. Make the batwing seams
Beginning at one short end, mattress-stitch the first 32 (36, 40) stitch pairs of the meeting long edges. Each pair joins one foundation stitch to one final-row stitch. This seam measures 8 (9, 10) in. Repeat from the opposite short end. Leave the central 80 (88, 96) stitches on each long edge unseamed: 144−32−32=80; 160−36−36=88; 176−40−40=96. The combined central opening therefore has 160 (176, 192) edge stitches around. Do not seam the short edges; they are the sleeve openings.
4. Try on and orient the shrug
Turn RS out, put one arm through each short-edge opening, and let the fold lie across the upper back. The central unseamed section falls into an oval front opening. Both sleeve seams run below the arms. The broad fabric beneath each arm creates the dolman shape. There is no separate shoulder or armhole shaping; the fold and seam stops supply it. If the sleeve length or opening feels wrong, unpick and adjust the seam length in whole 4-stitch / 1-in increments on both sides, record the change, and recalculate the opening count before edging.
5. Edge the front opening
Using plum and with RS facing, join at a seam stop. Ch 1, sc in each unseamed stitch around both long edges: 160 (176, 192) sc in the unmodified pattern. Join with sl st in first sc. Do not work into the sewn sections and do not add stitches at the seam stops. Fasten off. This one-row border should lie flat without tightening the opening.
6. Edge both sleeve openings
Join plum at the underside of one sleeve. Work along the complete short edge: 1 sc into each short sc row end and 2 sc into each tall eyelet dc row end. There are 37 (40, 43) sc row ends and 35 (38, 41) eyelet row ends, giving 107 (116, 125) sc around the sleeve opening. Join with sl st and fasten off. Repeat at the other sleeve. These remain wide openings, not gathered cuffs; do not decrease them into fitted wrists.
7. Final fit and finish
Check that the two seams have the same number of stitch pairs and end at matching points. Weave in black tails inside black rows and plum tails into the plum border. Block the edges gently without flattening the rounded drape. Wear over an opaque fitted top or dress; the open center is a feature, not an unfinished front.
Finishing and blocking
Soak according to the yarn label, squeeze gently in a towel, and lay flat to the stated measurements without pulling the fabric beyond gauge. Dry completely. Never apply a hot iron directly to yarn. Check seams, weave each tail back and forth through at least 5 cm of stitches, and trim only after the fabric has settled.
Original digital pattern by Carly. The written measurements are calculated from the blocked gauge. This design has not been independently test-crocheted in every size. Images are AI-generated design illustrations, not photographs of a tested sample; follow the written stitch counts and your measured gauge.